Visual Language Studio
Visual Language Studio Companion Guide
A practical, visual guide for turning the picture in your mind into a clear visual direction.
Most people can sense the image they want long before they can describe it. This guide helps you put words to that picture—so you can choose the right style, shape a clear brief and build prompts that genuinely match your idea. Keep the Studio open in one tab and this guide in another. Move between them as your thinking develops.
Open Visual Language Studio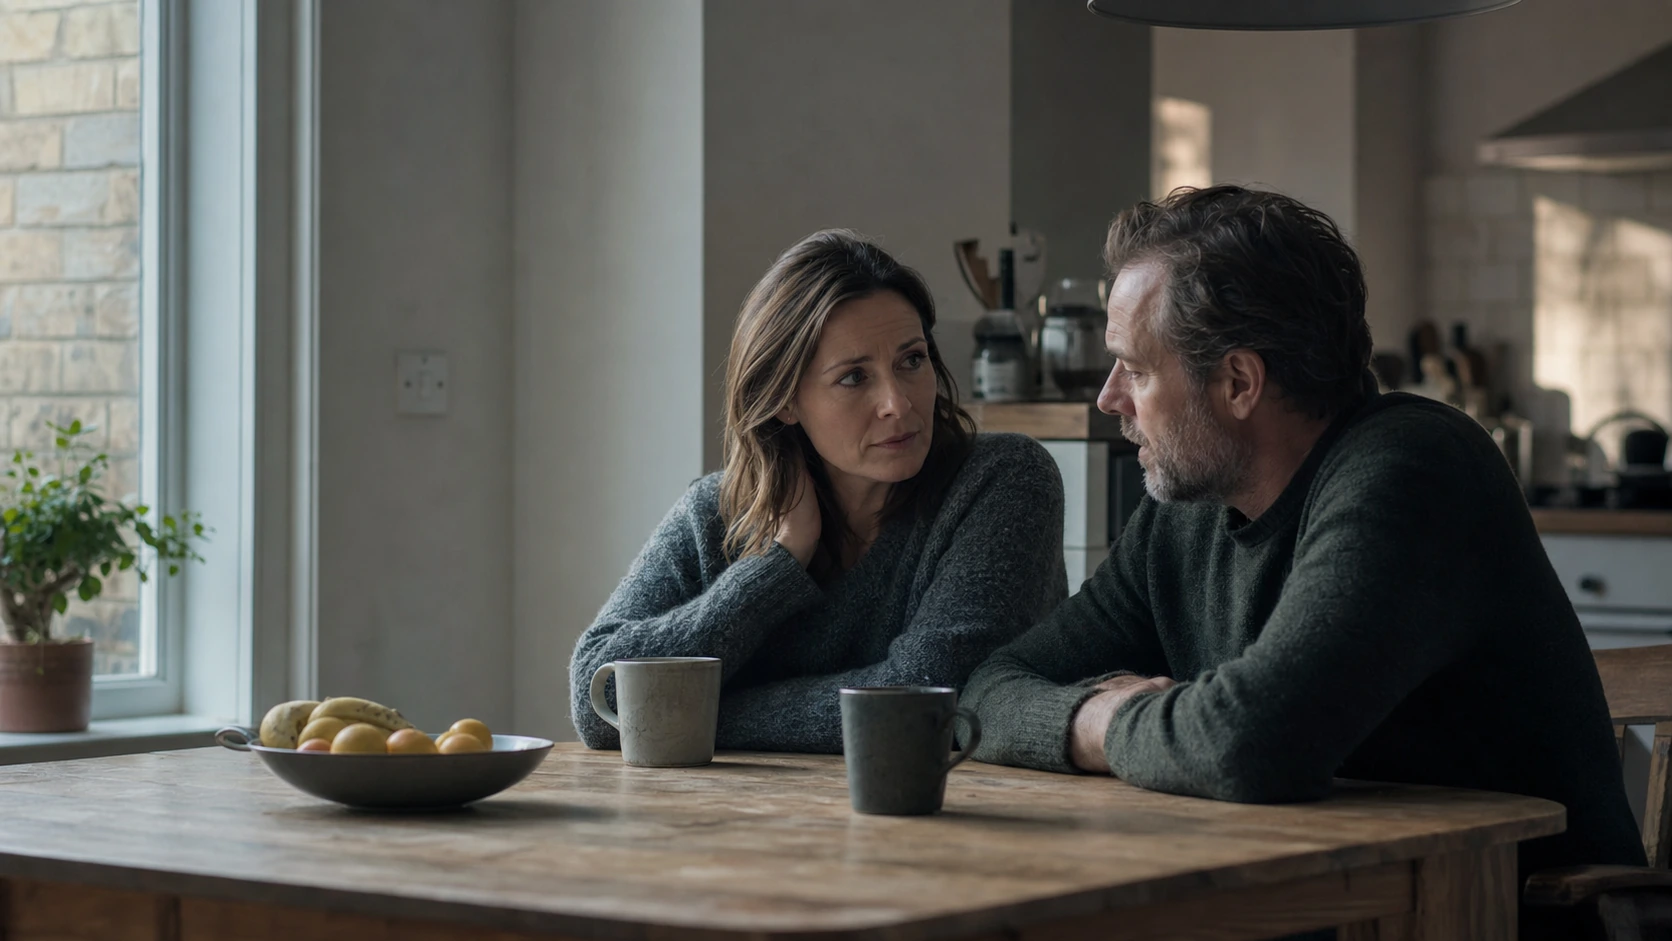

Getting started
The Studio shows you the options. This guide helps you say what you mean.
The Visual Language Studio is designed for people who think visually but don’t always have the vocabulary to express what they’re imagining. This guide sits alongside the Studio and helps you translate intuition into clear visual language—the kind that makes prompts stronger, images clearer and decisions easier.
Begin with the Studio’s examples. When something looks close to what you want, come here to understand why it works—and how to describe it.
Let the Studio show you possibilities. Let this guide help you choose and articulate them.
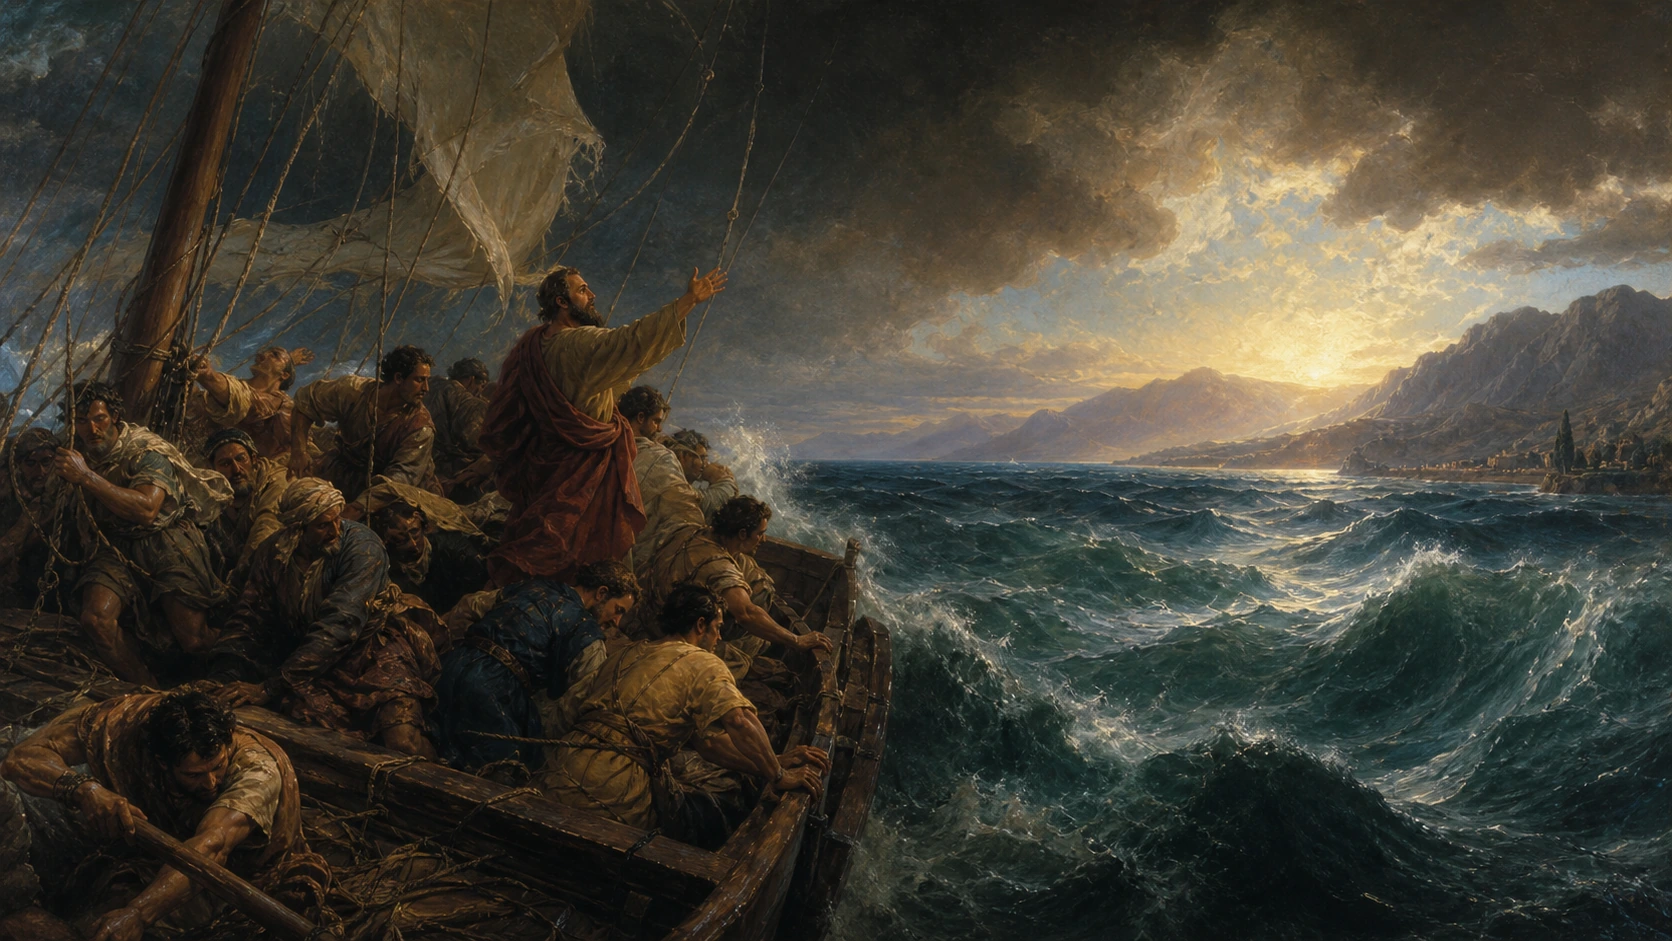
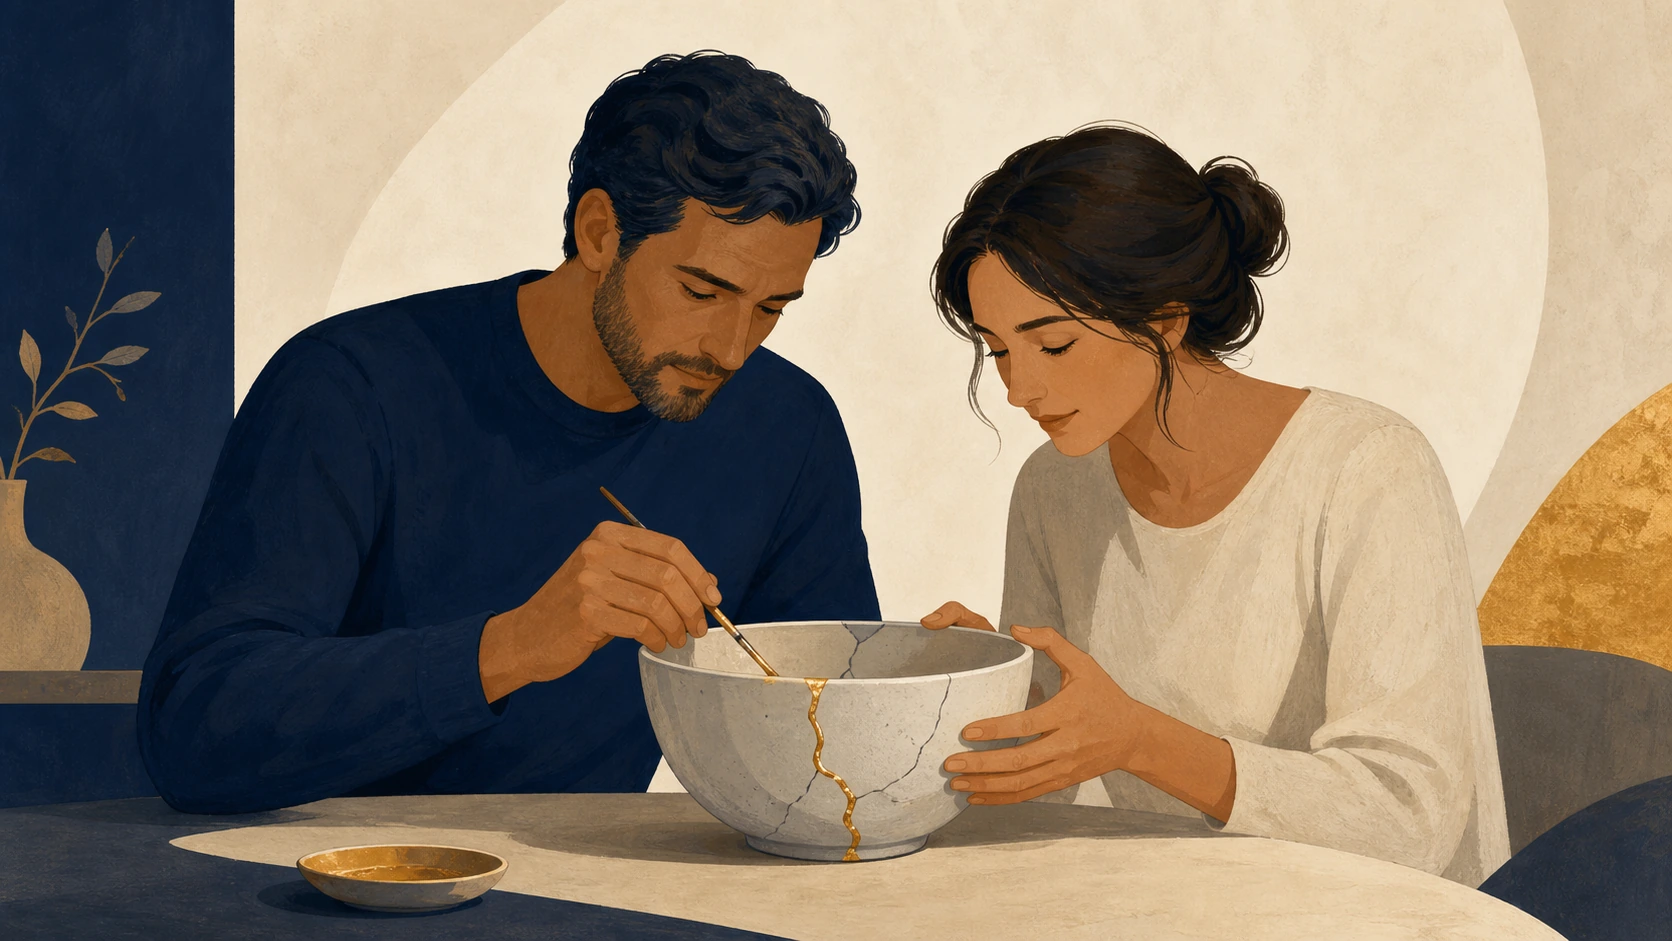
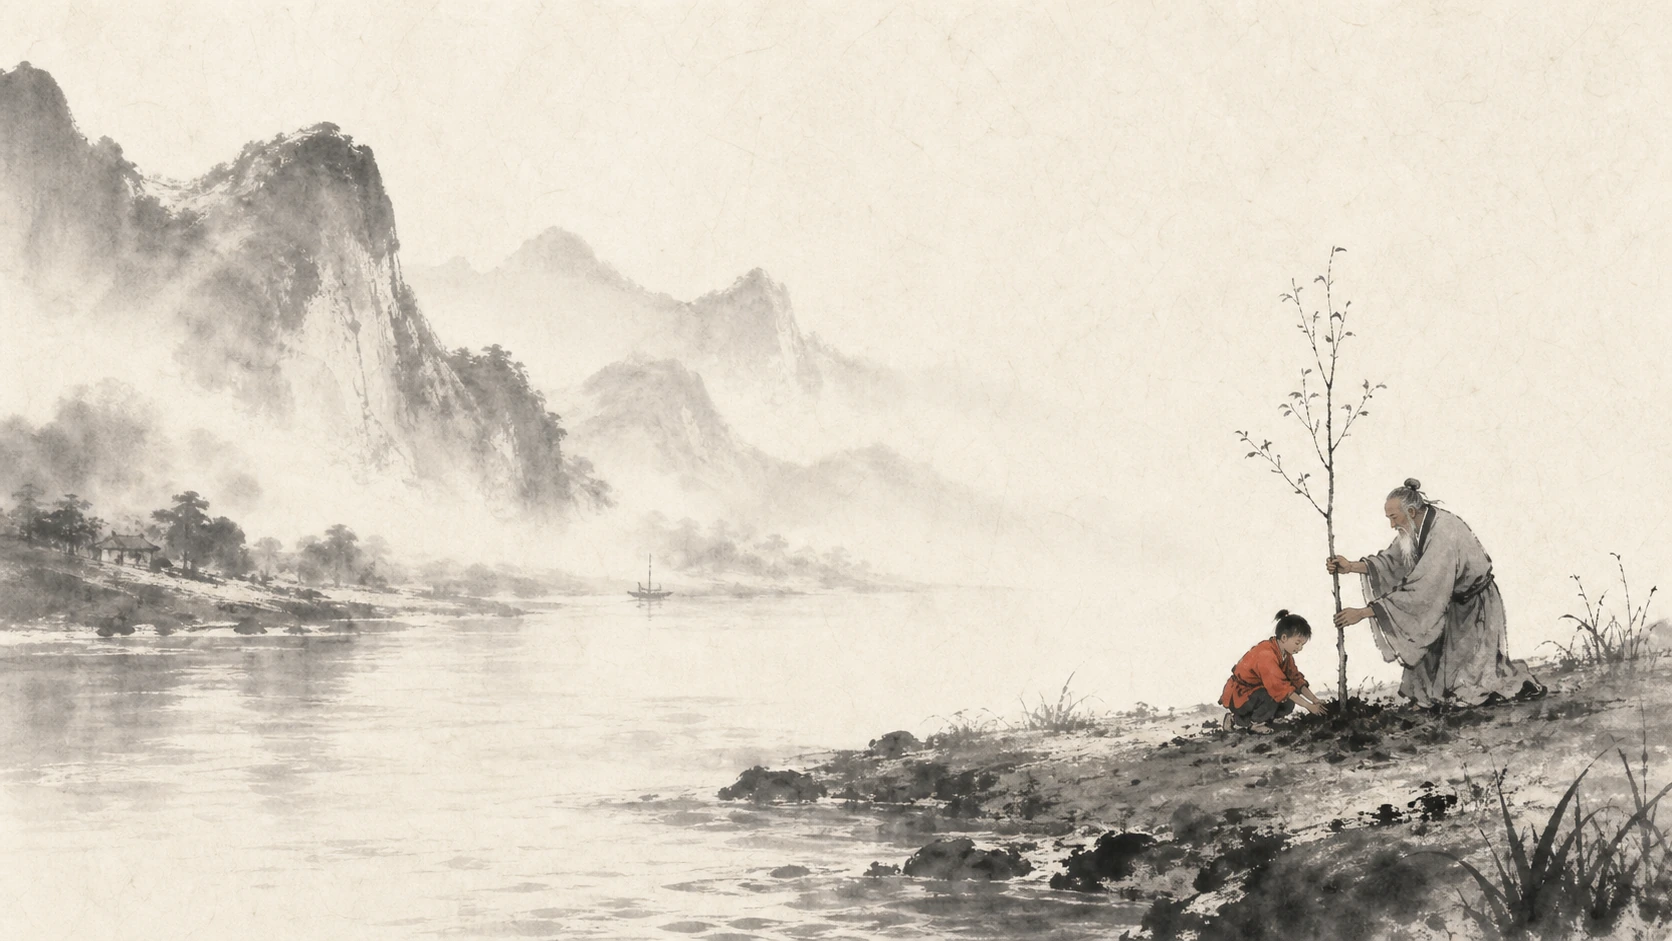
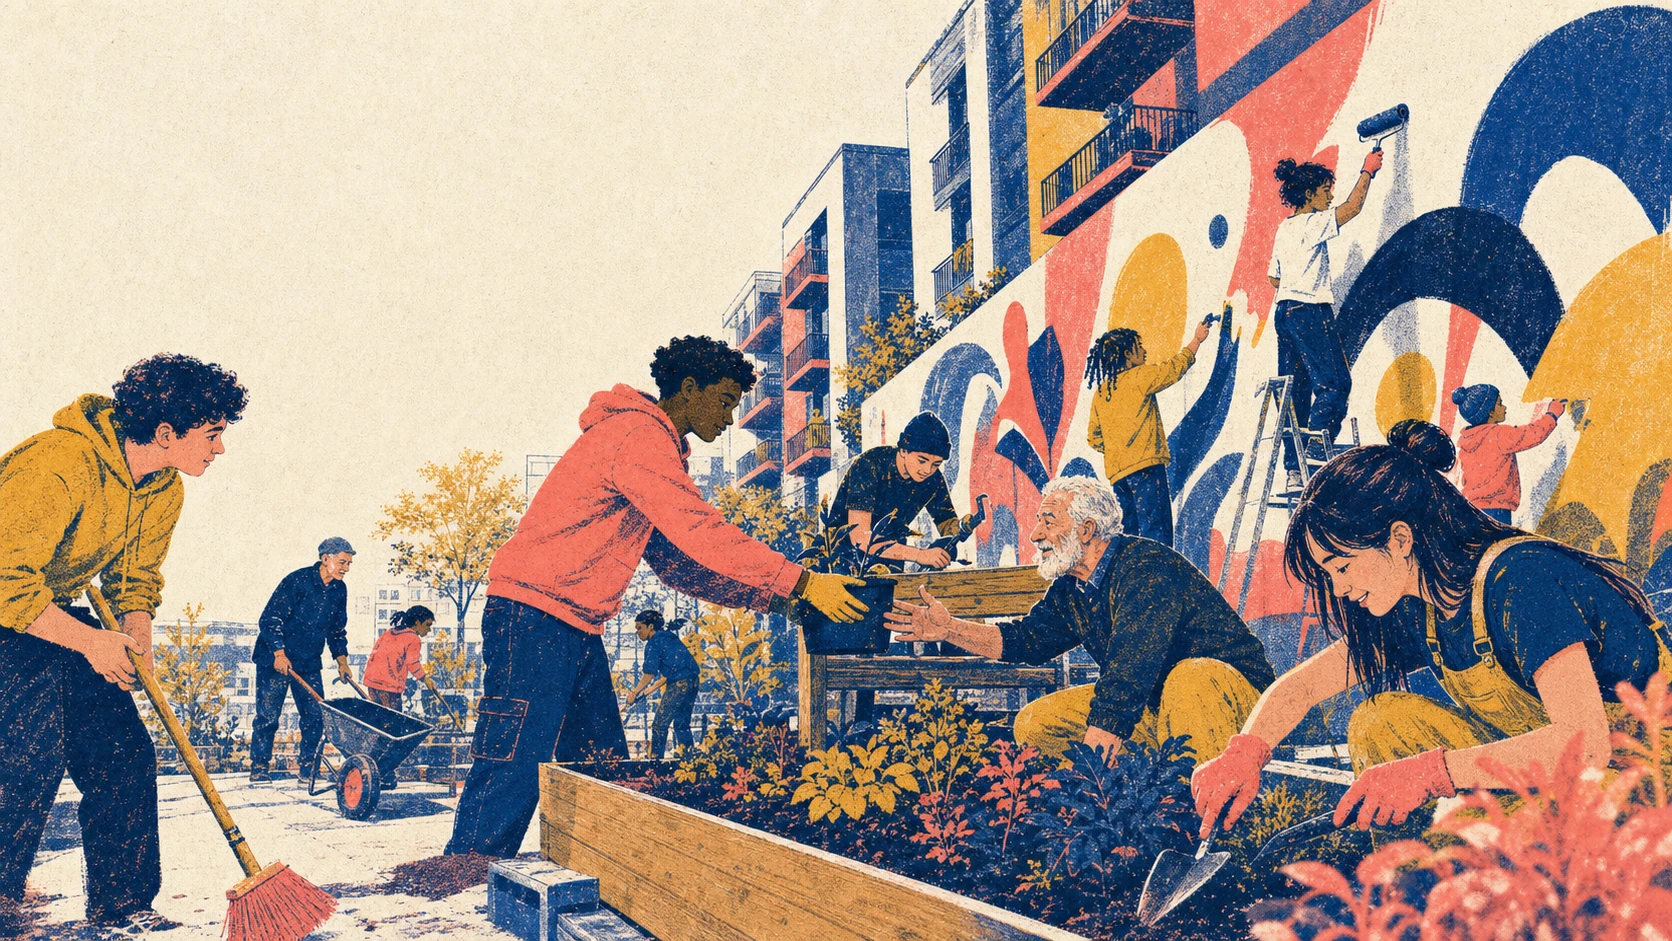
Phase 1
Define the communication job
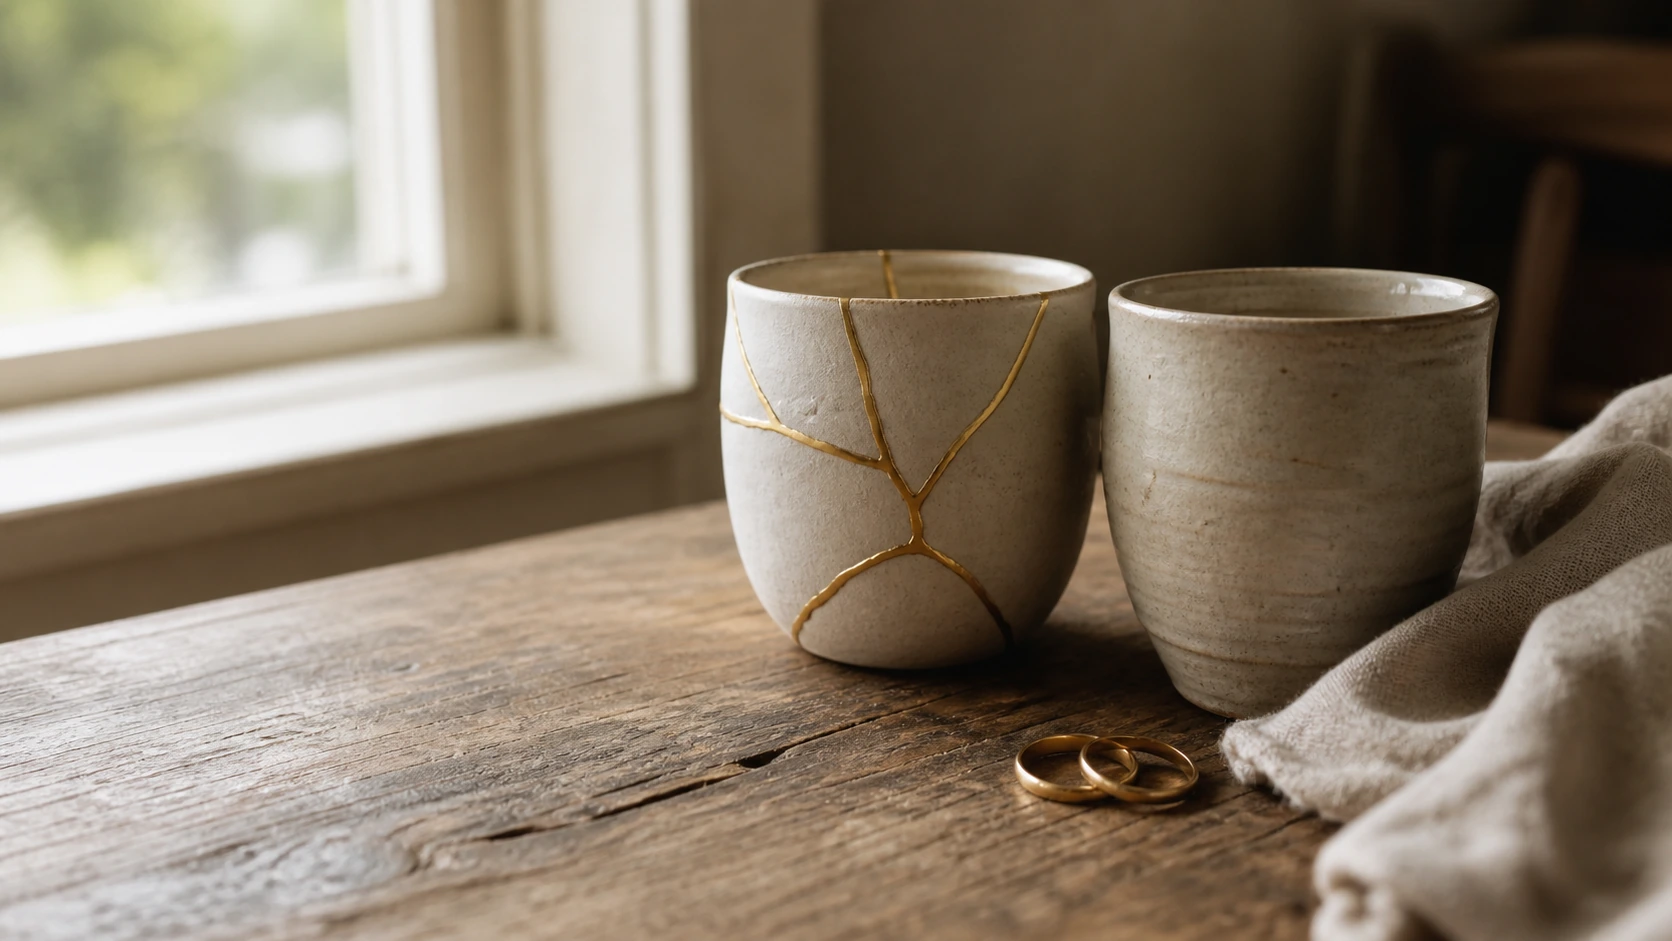
Every strong image begins with intention. Before you think about style or setting, take a moment to name the emotional tone. Most people know the feeling long before they know the words—this step helps you capture that feeling so the Studio can guide you towards the right visual direction.
- Truthful and human: grounded, honest and everyday. Images that feel close to real life.
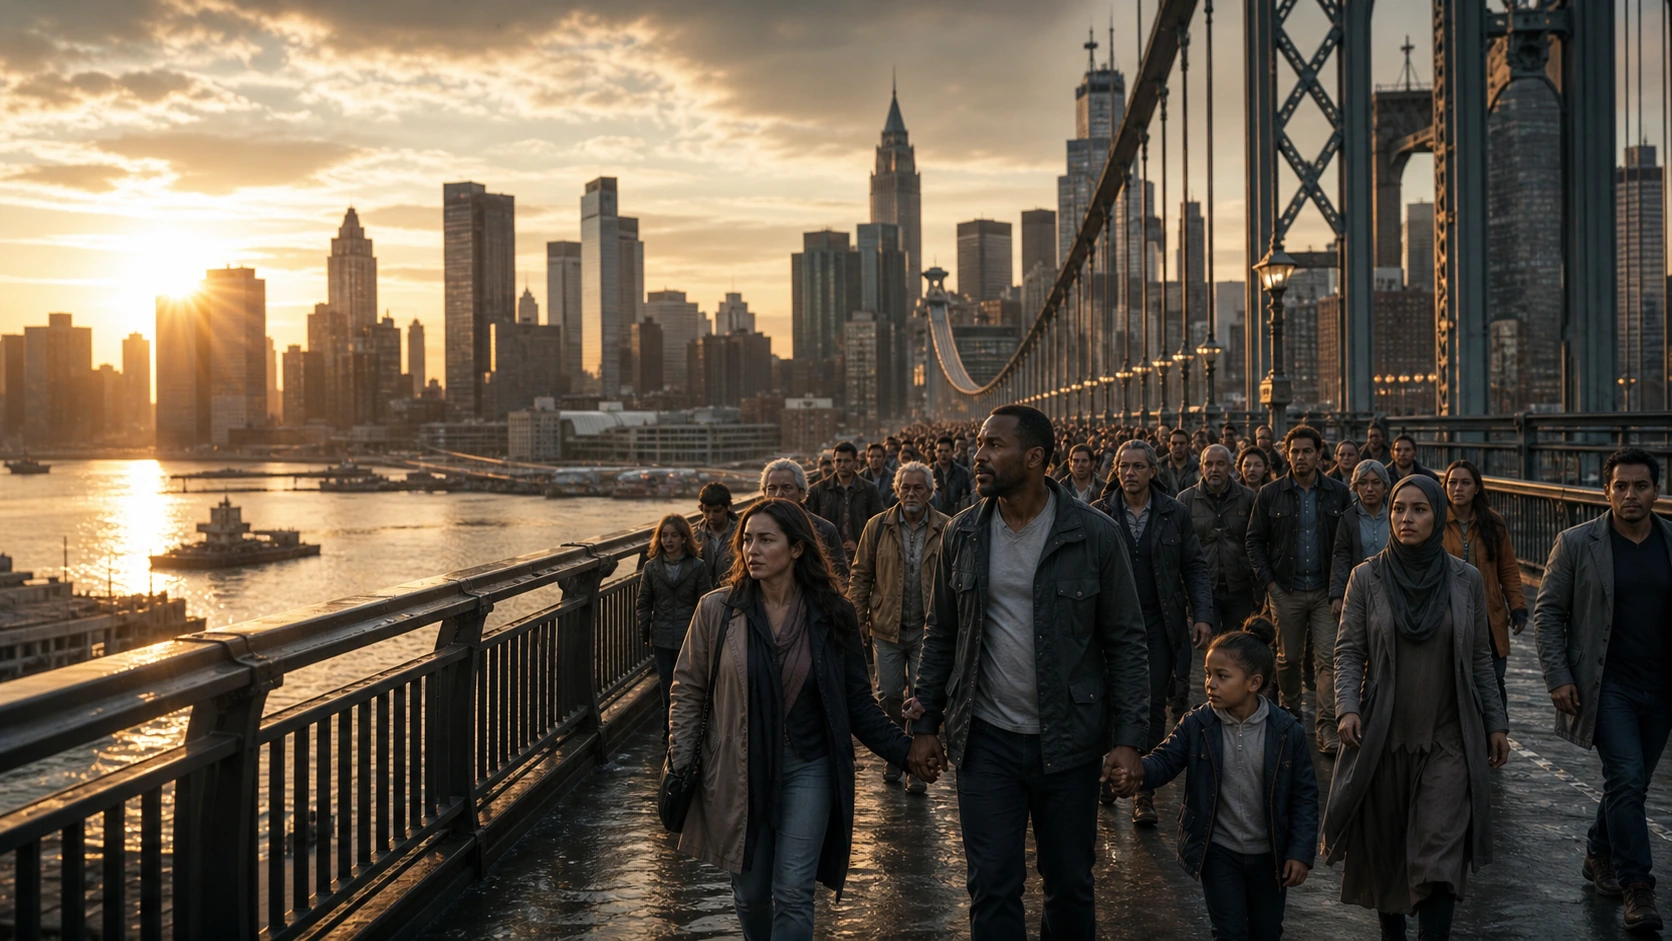
- Epic and momentous: large in scale or significance. A sense of movement, mission or history.
- Dramatic and heightened: strong contrast, tension and urgency. A moment that feels charged.
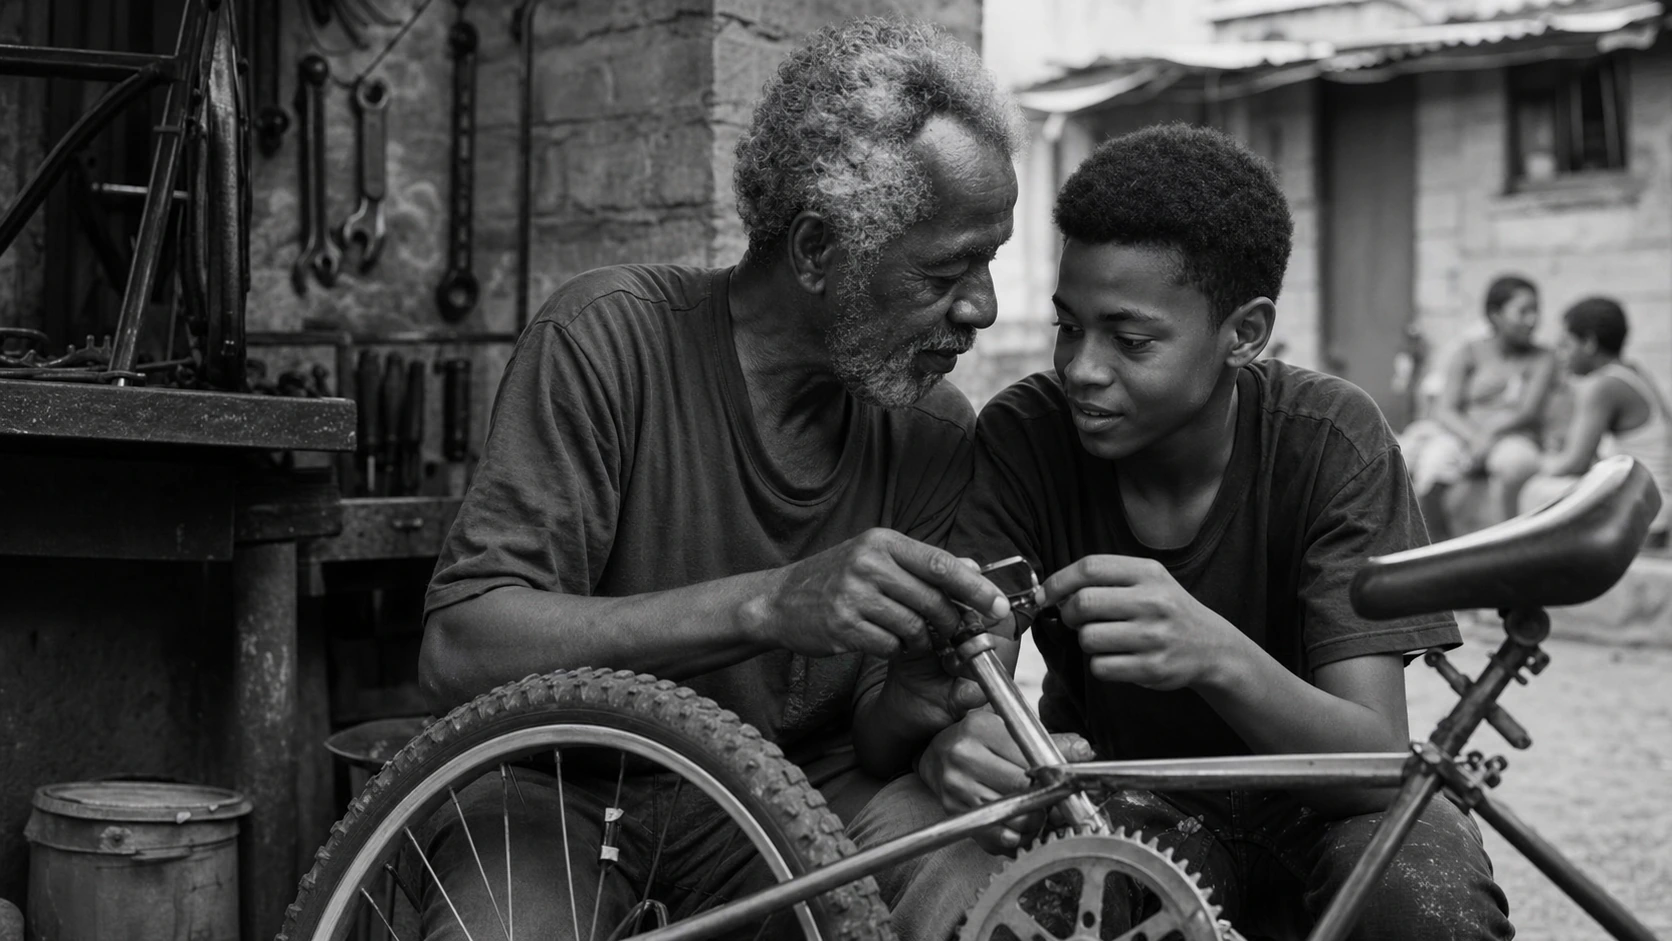
- Intimate and compassionate: quiet, gentle and attentive. Close human connection.
- Contemplative and poetic: spacious, reflective and symbolic. A slower visual rhythm.
- Energetic and contemporary: modern, active and youthful. Movement, participation and cultural relevance.
- Symbolic and concept-led: one strong idea shown visually. Objects or scenes that carry meaning beyond their literal form.
Decision rule: Name the emotional tone first. Everything else builds on it.


Phase 2
Choose the subject world
The subject world is the ‘place’ your image belongs. It’s the first clue your audience gets about the kind of story you’re telling. If unsure, choose the Studio example closest to the picture in your mind.
Biblical
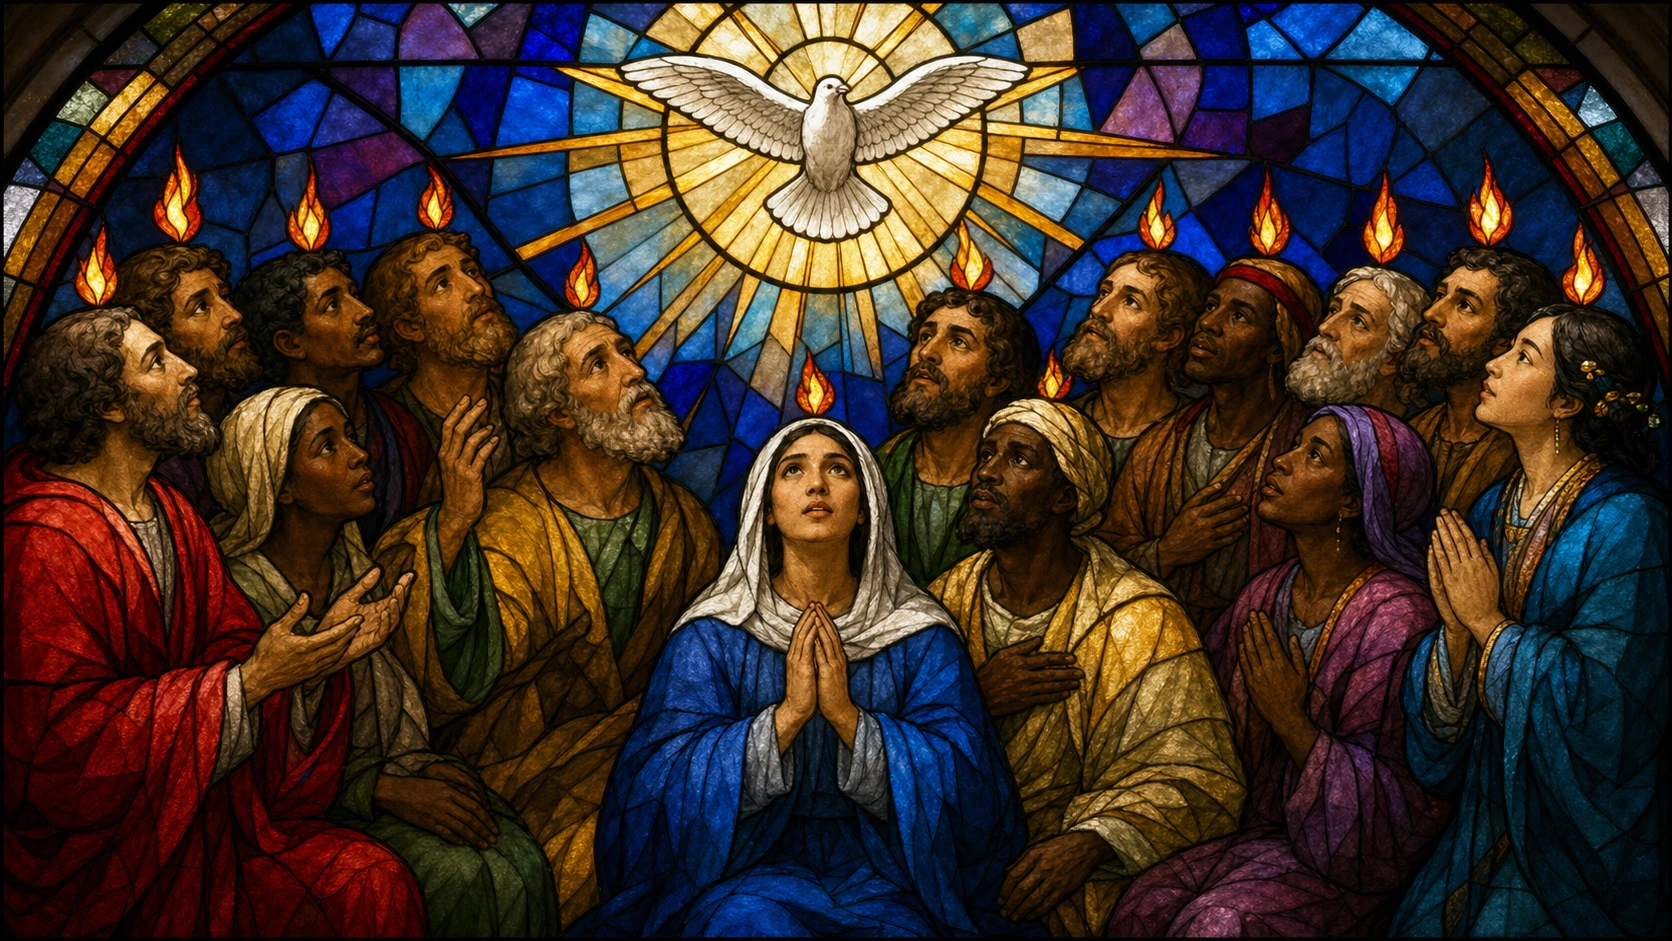
The look and texture of Scripture—clothing, landscapes, architecture and atmosphere. Anything rooted in biblical narrative or early history sits naturally here.
Scientific
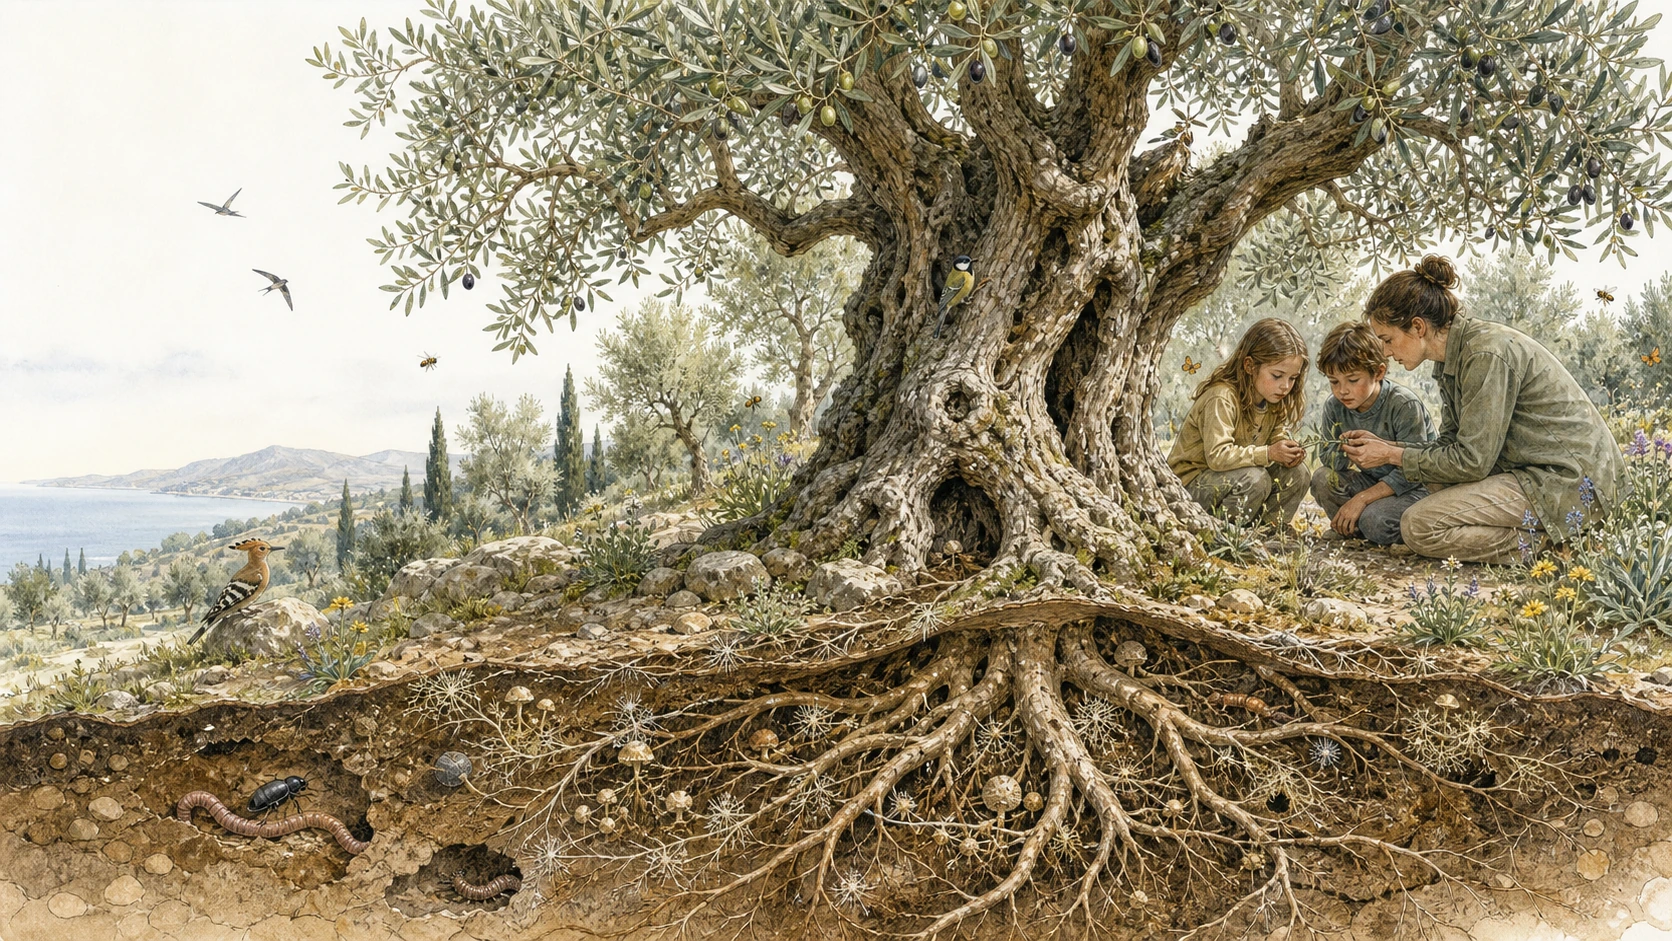
Clear diagrams, accurate anatomy, natural systems and careful observation. Choose this when the idea belongs in a field guide, lab notebook or classroom explanation.
Youth
Fresh, modern and approachable. Bright colour, simple shapes and everyday relatability suit ideas with discovery or playfulness.
Business
Clean, structured and purposeful. The visual language of organisations, teamwork, planning and decision-making.
Community
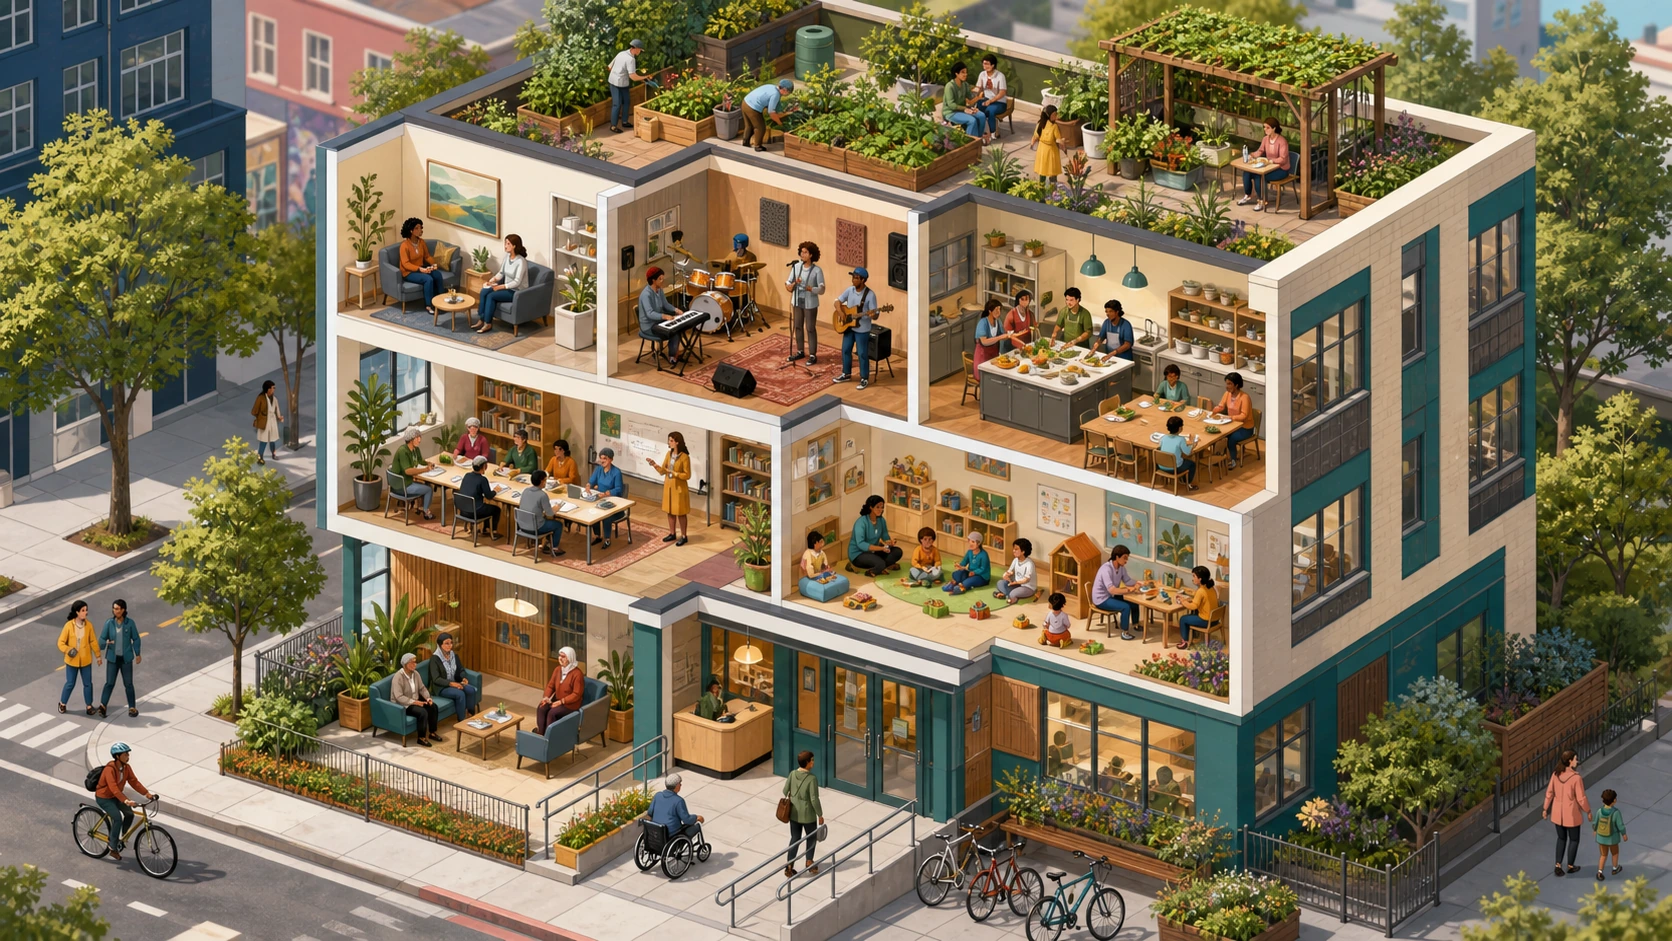
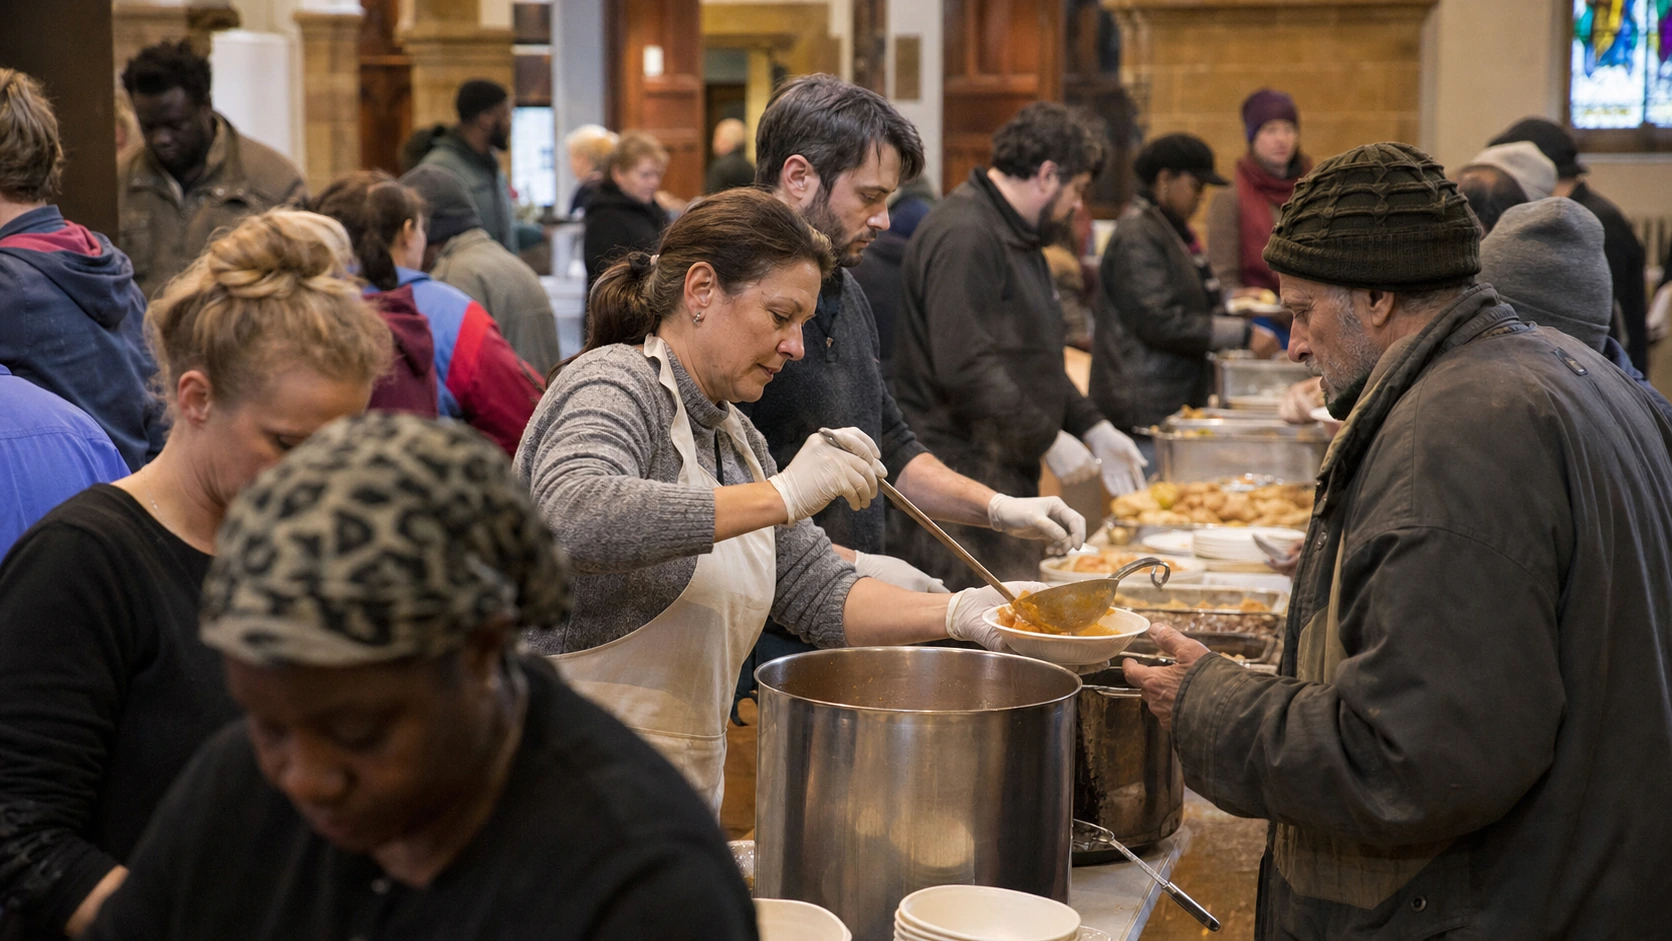
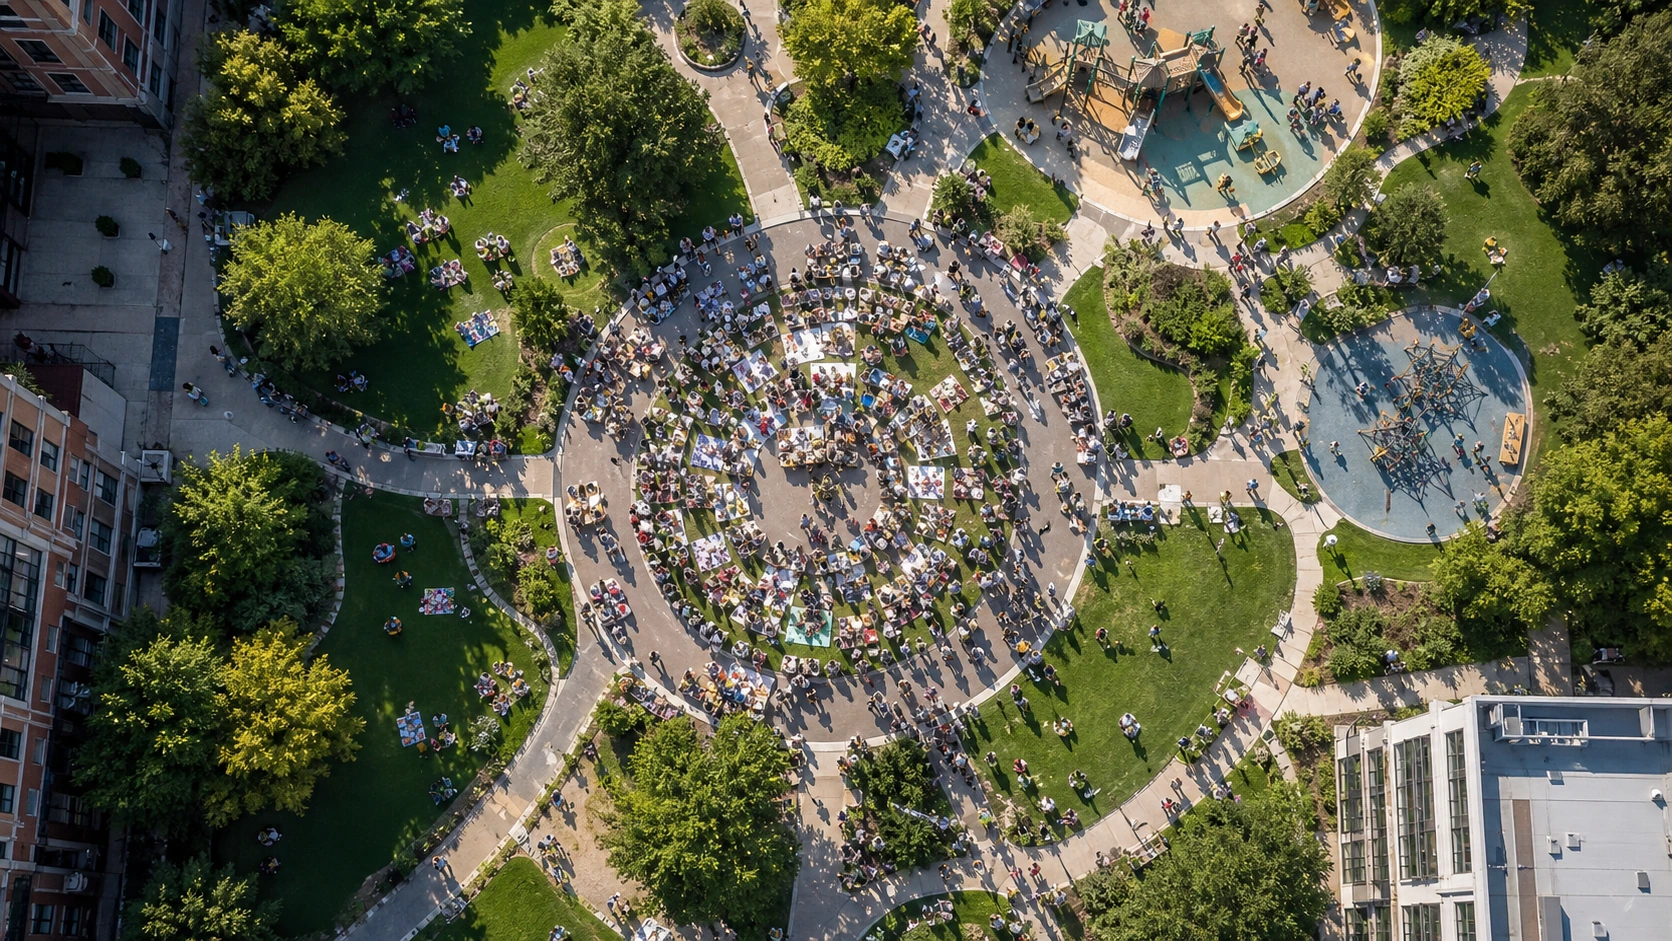
Lived-in, local and relational. Real people in real spaces—kitchens, parks, high streets and community halls.
Educational
Legible, structured and step-by-step. Visuals designed to teach clearly and at the right level.
The Selector uses Biblical, Marriage, Urban and Teaching. Choose the closest match—it doesn’t need to be perfect.
Decision rule: Pick the world your audience should recognise before they interpret the details.
Naturalistic cinematic photography
Warm, believable and human. Scenes that feel real and emotionally grounded.
Scientific natural-history illustration
Precise, observational and quietly beautiful. Clear shapes, accurate detail and structured explanation.
Cinematic epic photography
Large-scale, atmospheric and mission-led. Images that feel big, dramatic and purposeful.
Phase 3
Select the visual language
Each style in the Studio has its own personality—its own way of shaping light, detail and emotion. If you’re unsure which one fits your idea, scroll through the examples and choose the one that looks most like the picture in your mind.
Decision rule: Choose the style that looks closest to what you’re imagining—even if you can’t describe it yet.
Phase 4
Write clear subject & action
This is where you describe what’s happening in the image. If you’re stuck, imagine explaining the picture to someone who can’t see it. Keep it simple and visual.
Single figure
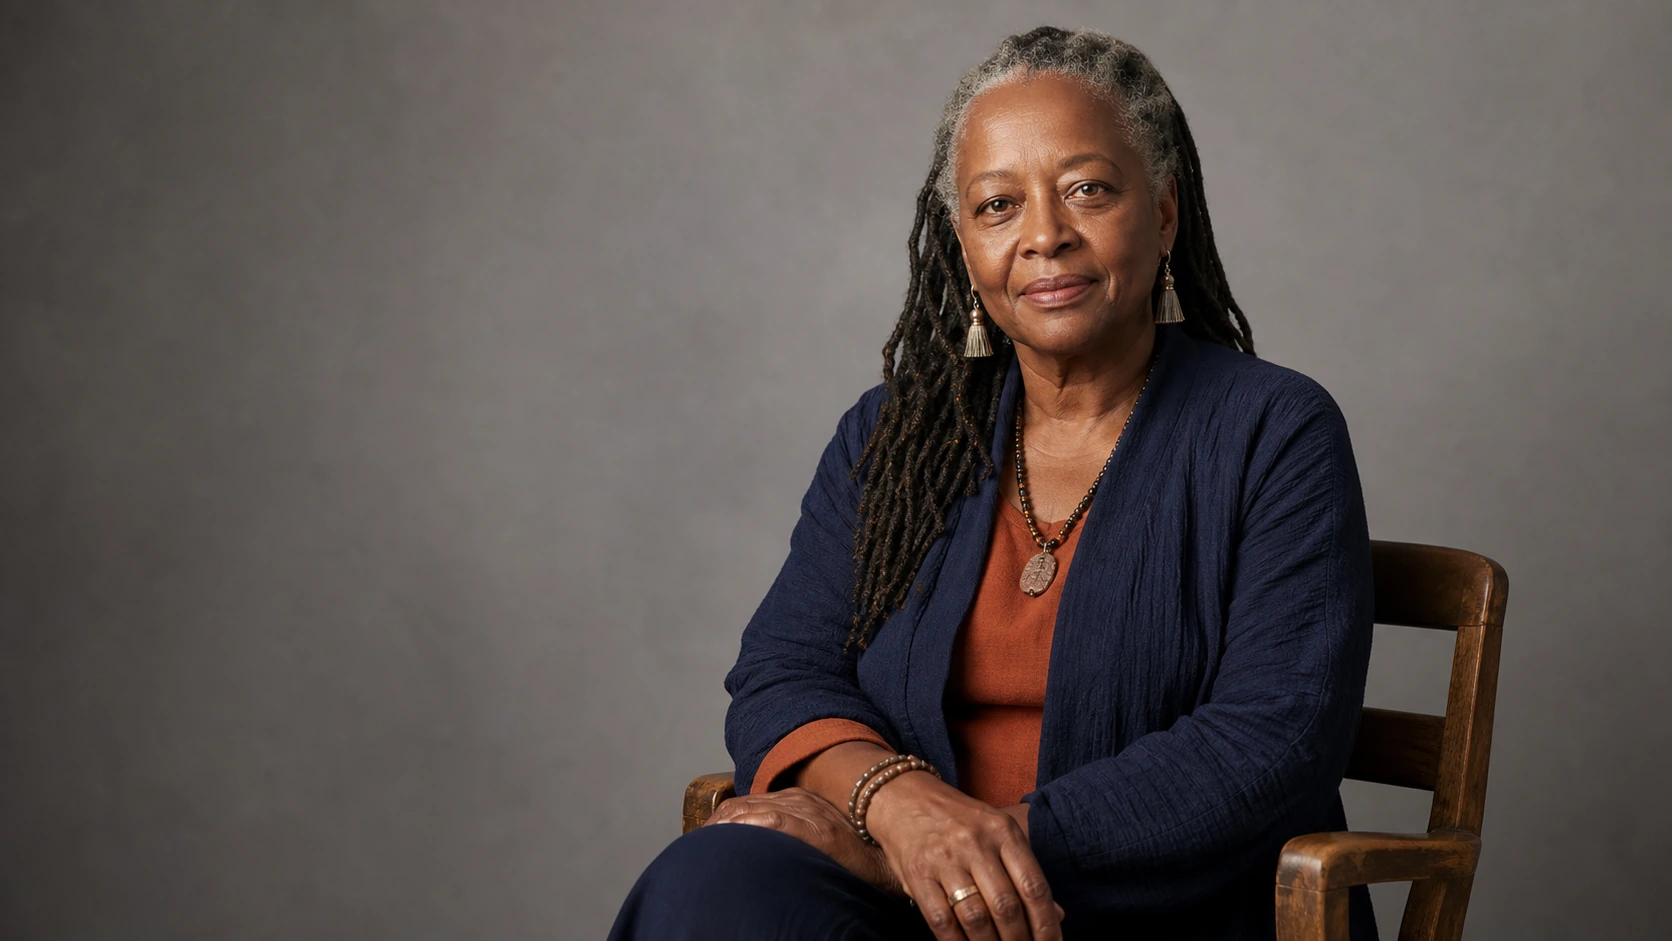
One person sitting quietly beside a window, thinking.Group movement
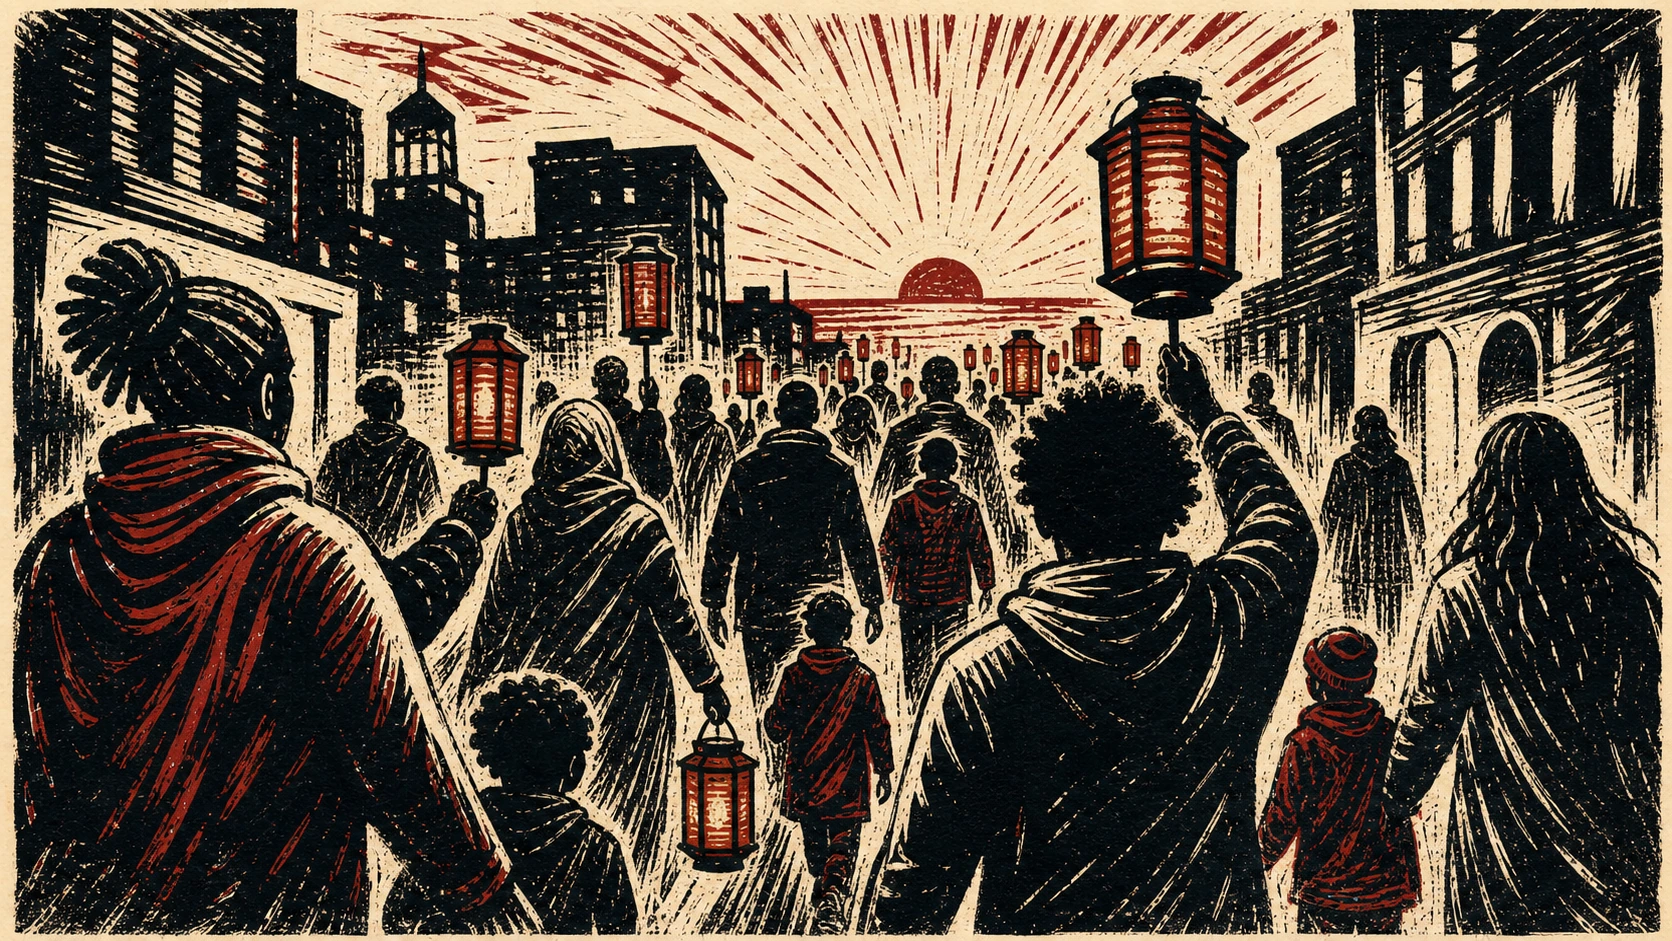
A group walking together through a city street with purpose.Teaching moment
A cutaway of a tree root showing how water moves.Symbolic arrangement
Three objects arranged to represent faith, hope and perseverance.Decision rule: Write what the viewer should see, not what the idea means. Meaning comes from clarity.
 Good setting
 Avoid unplanned competition
Phase 5
Choose the setting
The setting should support your idea, not compete with it. If you’re unsure, ask yourself where this scene would naturally take place.
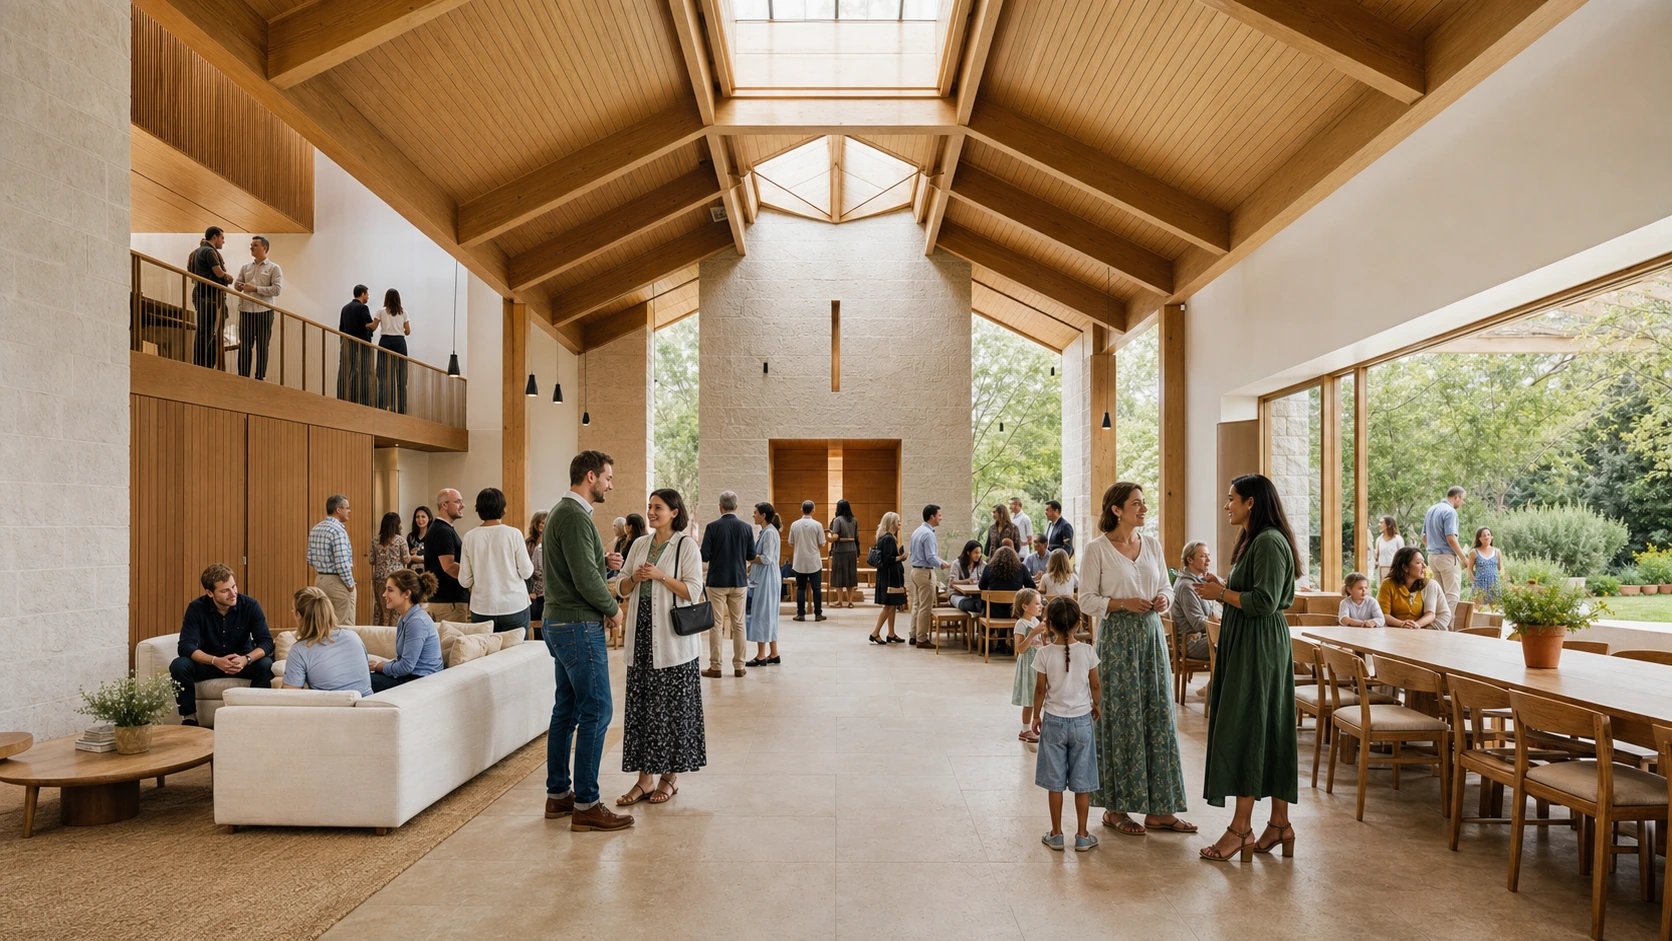
Good settings
- Believable environments
- Natural landscapes
- Accurate scientific contexts
- Quiet interior spaces
- Mission-scale architecture
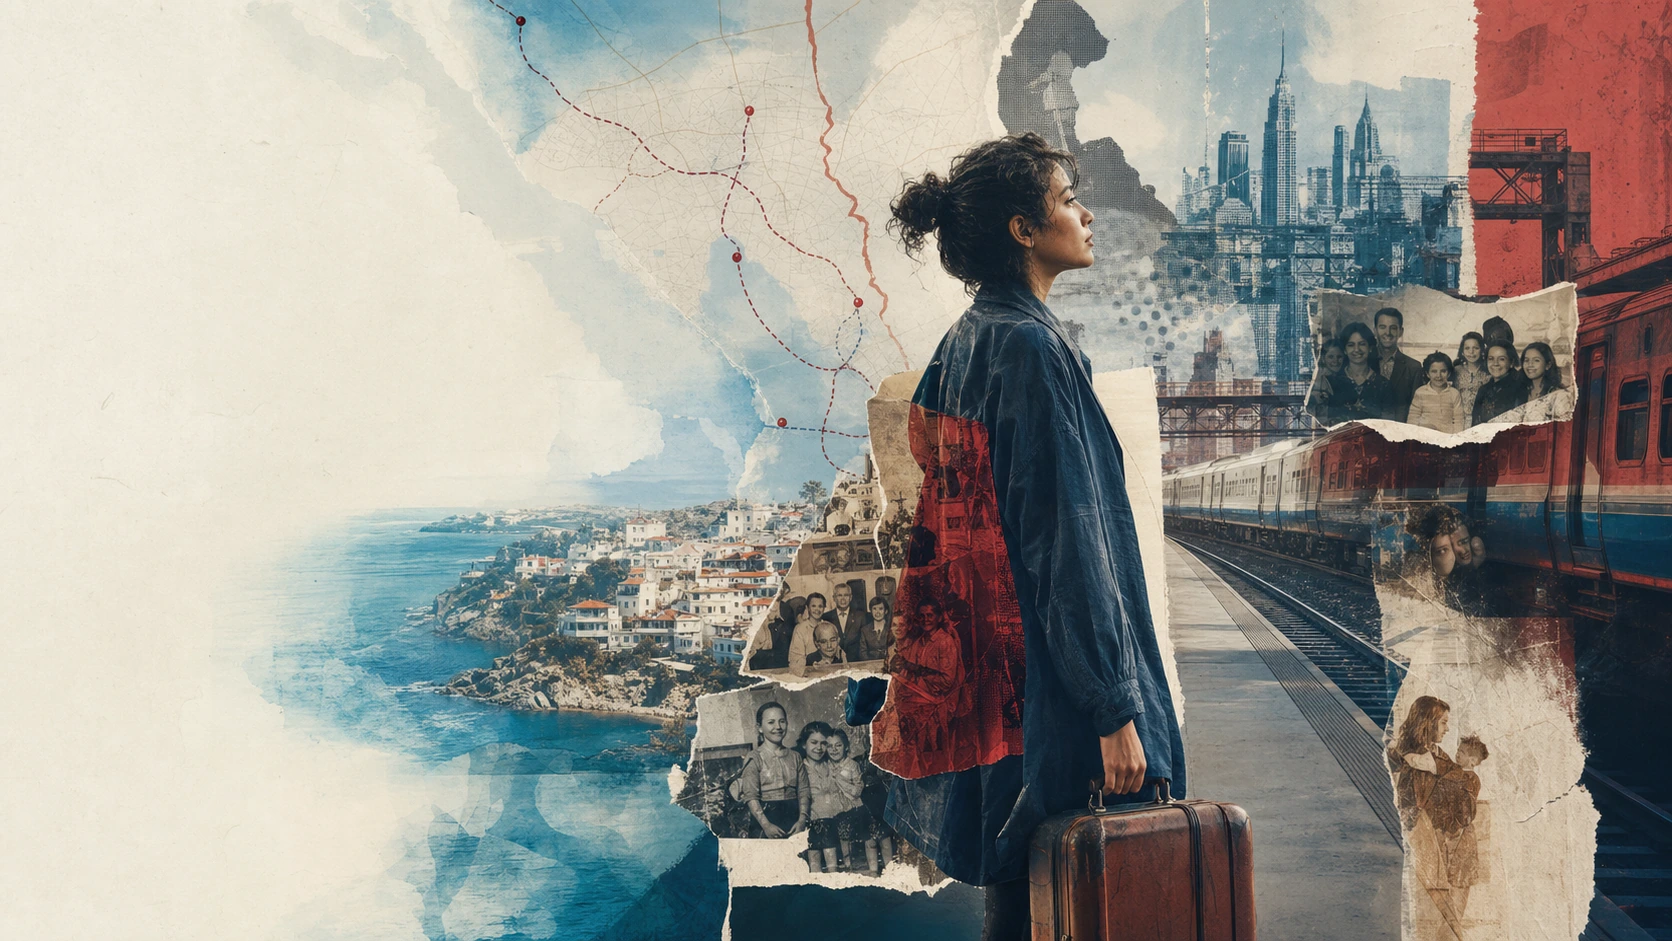
Avoid
- Fantasy elements
- Overly busy backgrounds
- Surreal distortions
- Mismatched time periods
Decision rule: Choose a setting that feels like it belongs with your idea.
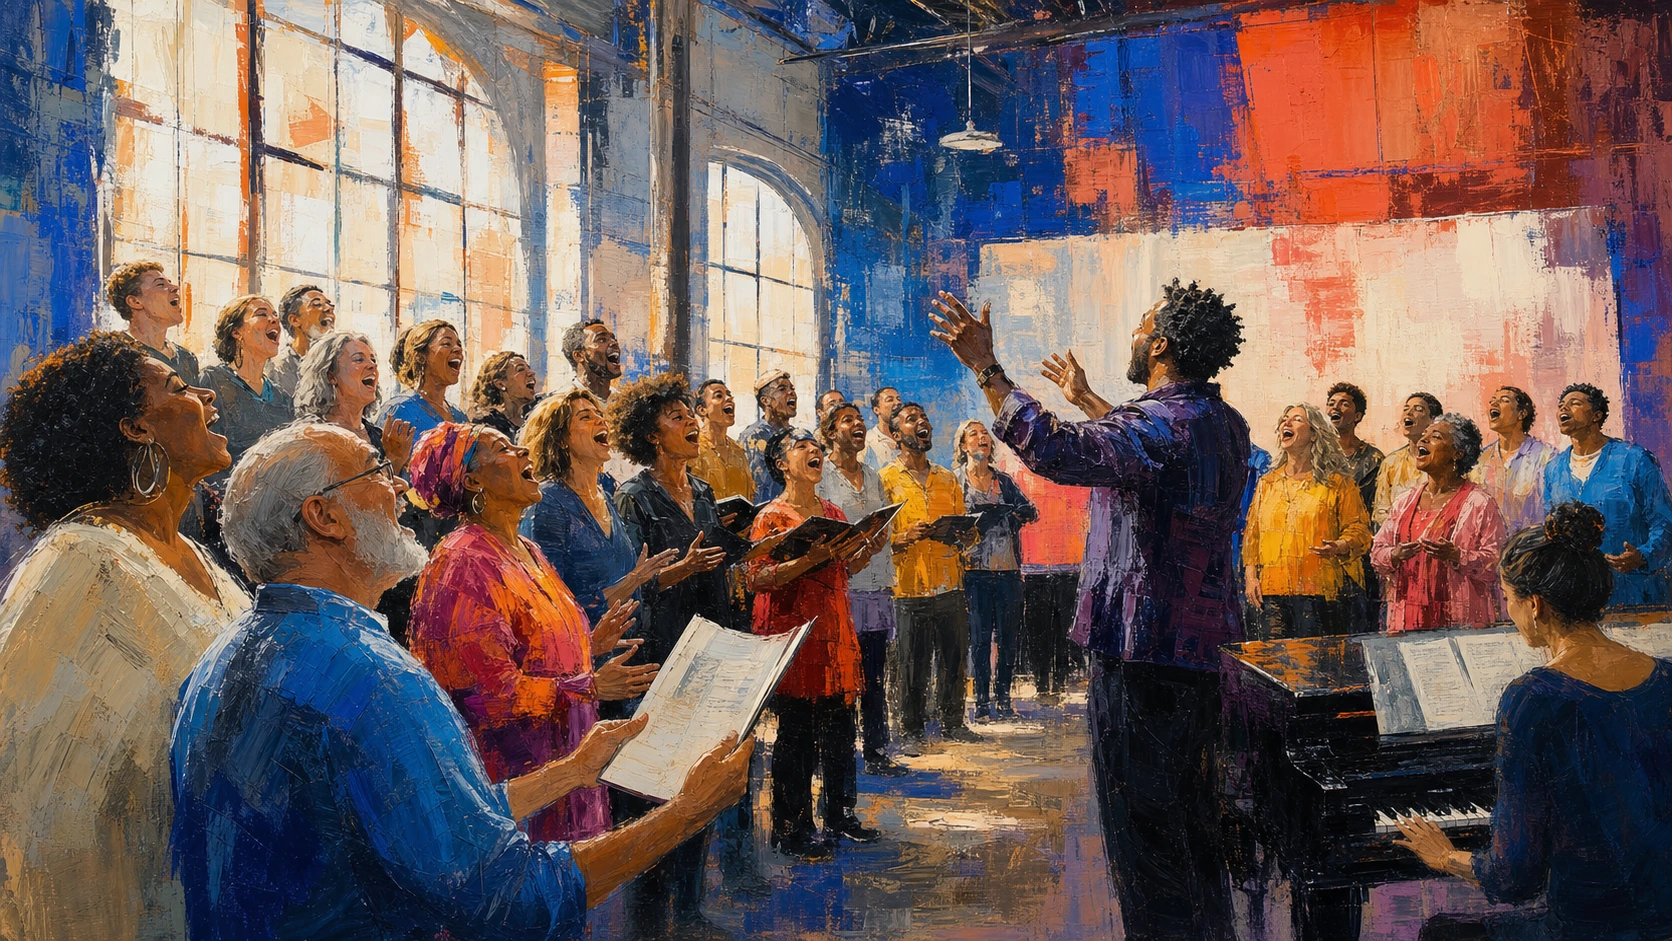

Lighting
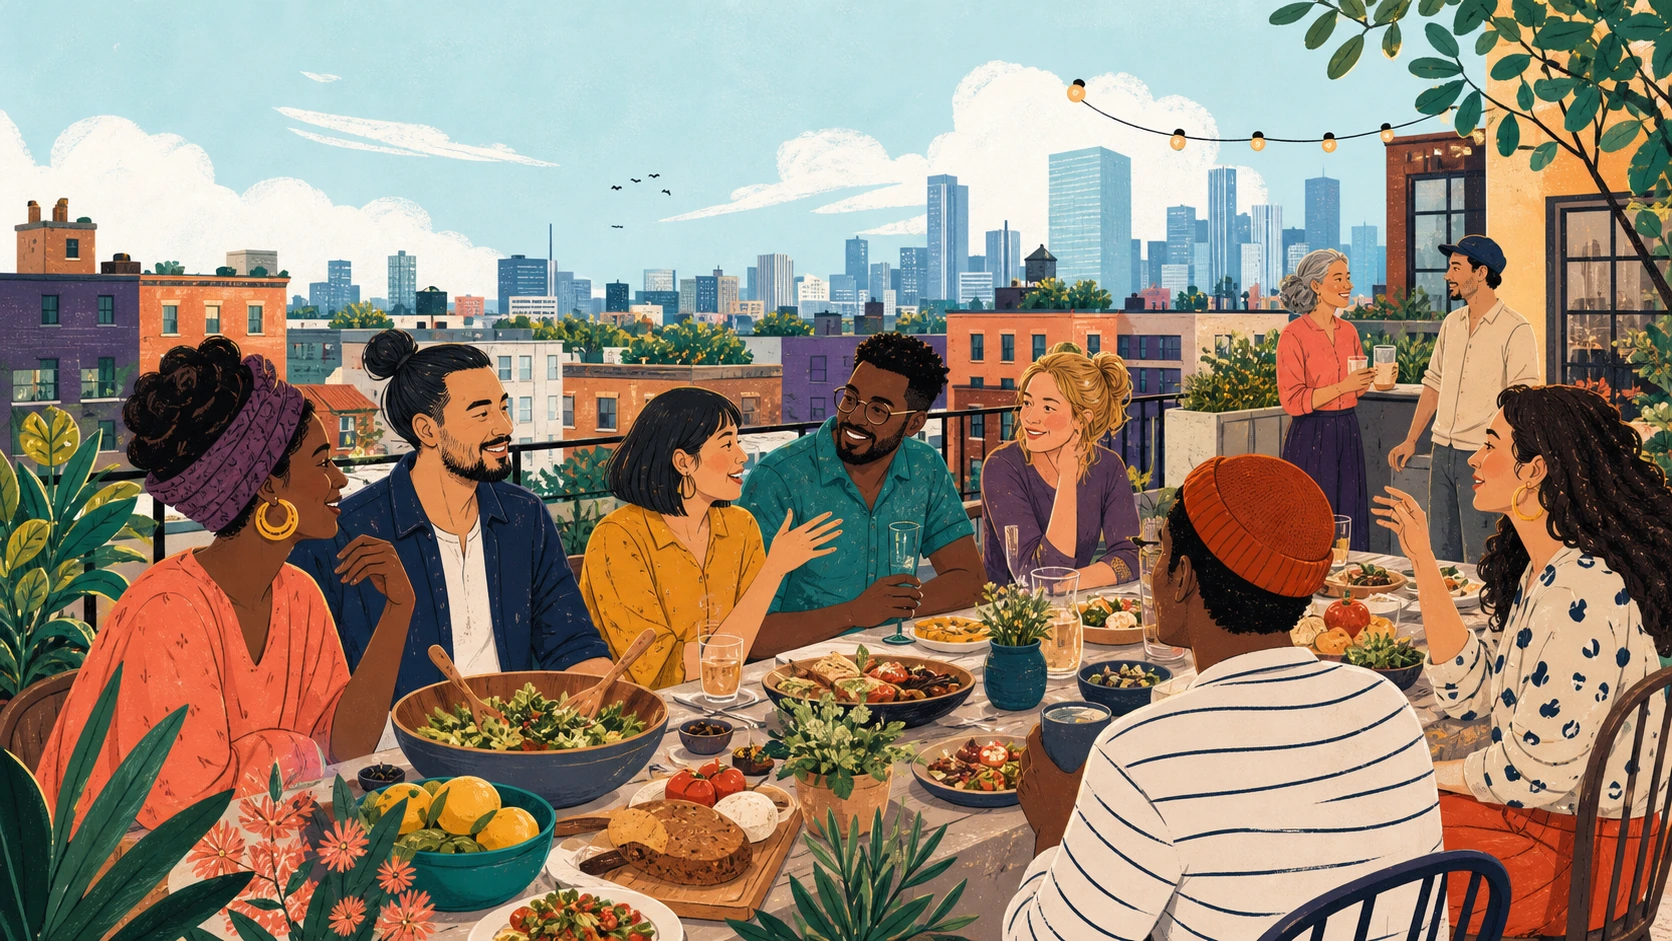
Palette
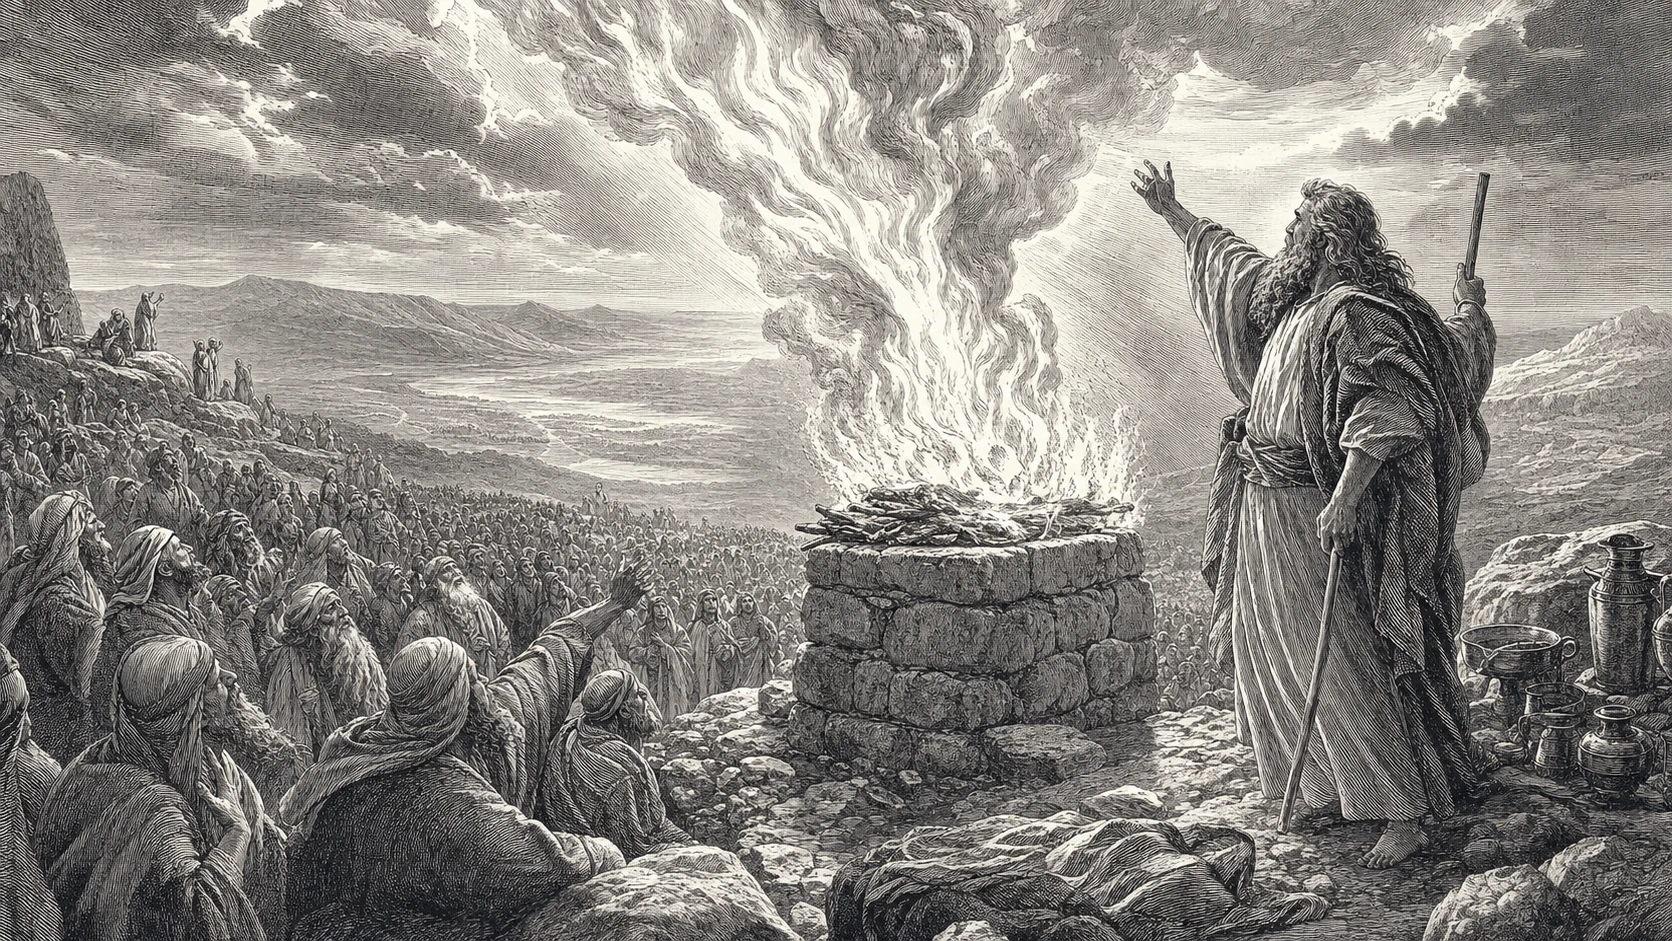

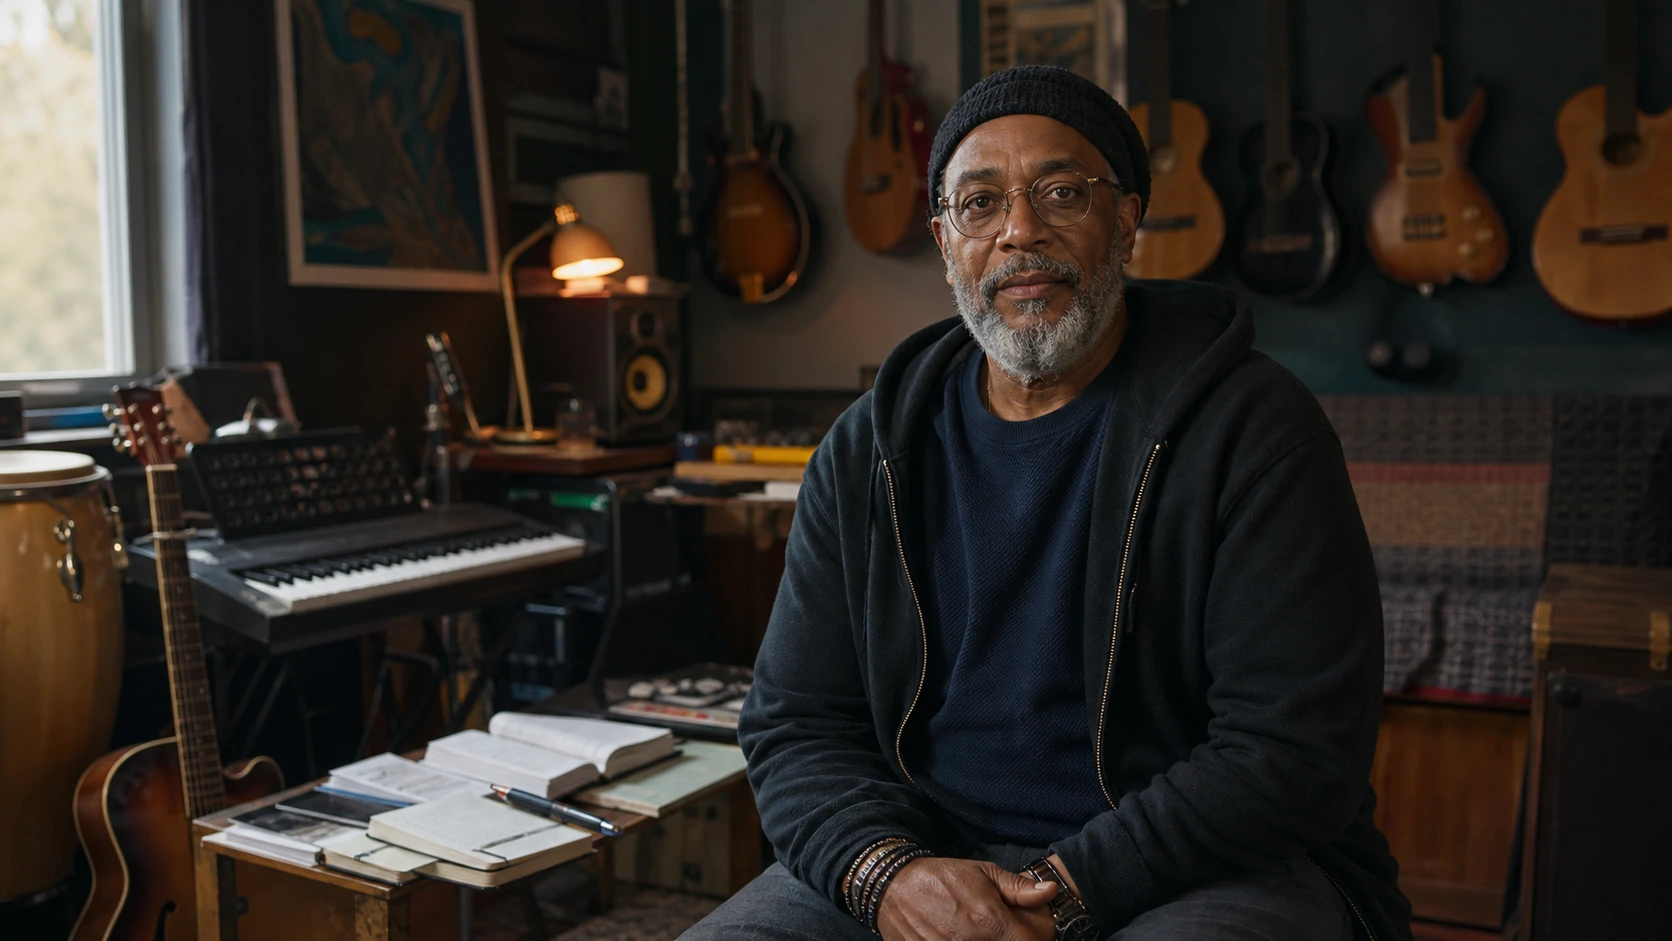
Mood
Realism
Phase 6
Make technical choices
Lighting, palette, mood and realism shape the emotional tone. If you’re unsure, look at the Studio’s examples and choose the one that feels closest to the mood you want.
Decision rule: Choose technical settings that match the feeling you named in Phase 1.
Phase 7
Composition & text-safe areas
Composition tells the viewer where to look first. If you’re unsure, ask yourself where the eye should land immediately. Leave space for titles or overlays if your design needs them.
- Centre: iconic and direct
- Centre-right: narrative flow with space on the left
- Lower third: grounded and human
- Upper third: aspirational and elevated
Decision rule: Choose a focal position that supports your subject and leaves room for text if needed.
Illustration in cinematic digital Bible-story style. Paul and a travelling group step from a wooden ship into a bustling Mediterranean port. Main focus centre-right; reserve left 35%. Bright daylight, vibrant palette, triumphant mood. No text or logos.
Phase 8
Generate your prompt
The Studio builds a clear, structured prompt based on your choices. This prompt captures your idea in visual language—even if you couldn’t describe it before.
- Style characterThe recognised visual language and rendering approach.
- Fixed constraintsRequirements that must survive every generation.
- Negative promptsVisual qualities and errors the image should avoid.
- Cross-platform rulesThe stable visual logic carried between generators.
- Downloadable briefA reusable record of the decisions behind the image.
Decision rule: Use the prompt exactly as generated. It is designed to remain stable across platforms.
Platforms
Add platform settings separately
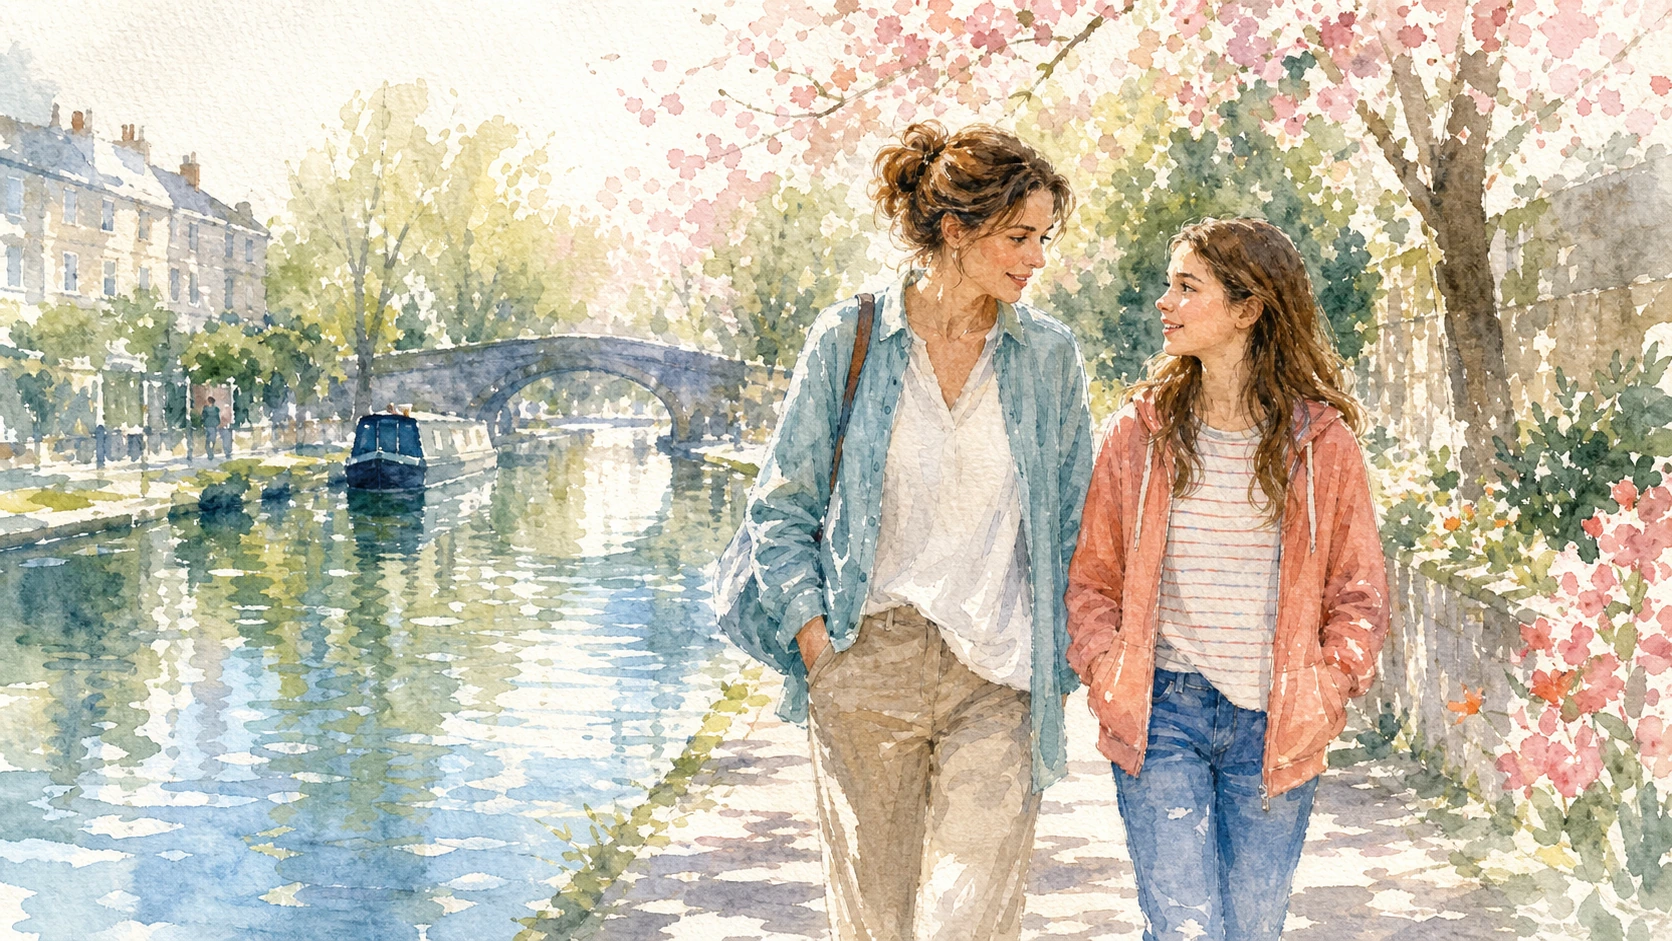
Different generators interpret prompts differently. Keep your core prompt stable and add platform-specific settings separately. The images above are Studio style targets, not a claim that each platform produced that exact sample.
Midjourney
--ar 16:9
--q 2
--raw
DALL·E (where available)
Widescreen landscape
Style reference
Lighting modifiers
Adobe Firefly
Widescreen 16:9
Negative prompt syntax
Photo style
Canva
Aspect ratio 16:9
Magic Media modifiers
Preserve text-safe area
ChatGPT
High realism
Natural anatomy
Preserve style anchor
Decision rule: Never modify the core prompt. Add platform settings separately.
Too dark
Warm or soften the lighting.
Too busy
Simplify the setting.
Anatomy issues
Increase realism.
Wrong emotional tone
Adjust the palette or mood.
Composition problems
Change the focal position.
Fixing results
Fix the result
If something looks off, adjust one variable at a time. Look at the image and ask yourself what feels wrong—then fix that specific thing.
Decision rule: Adjust one variable at a time. Small, targeted changes produce the best improvements.

Consistency
Maintain consistency across projects
Use the same communication job, style, palette, lighting and realism across related images. This creates a recognisable visual identity.
Communication job
Style card
Palette
Lighting
Realism
Summary
Quick recap
- 1
Define the communication job.
- 2
Choose the subject world.
- 3
Select the visual language.
- 4
Write clear subject & action.
- 5
Choose the setting.
- 6
Make technical choices.
- 7
Set composition.
- 8
Generate your prompt.
- 9
Add platform settings separately.
- 10
Fix the result with one targeted change.
Put the framework into practice
Open the Studio and shape your next image with intention.
Open Visual Language StudioThis page explains existing Studio controls. It does not change the Studio, create templates, assemble finished designs, add gating or connect to external services.